Curling Iron Curls
FAQs:
What are curling iron curls?
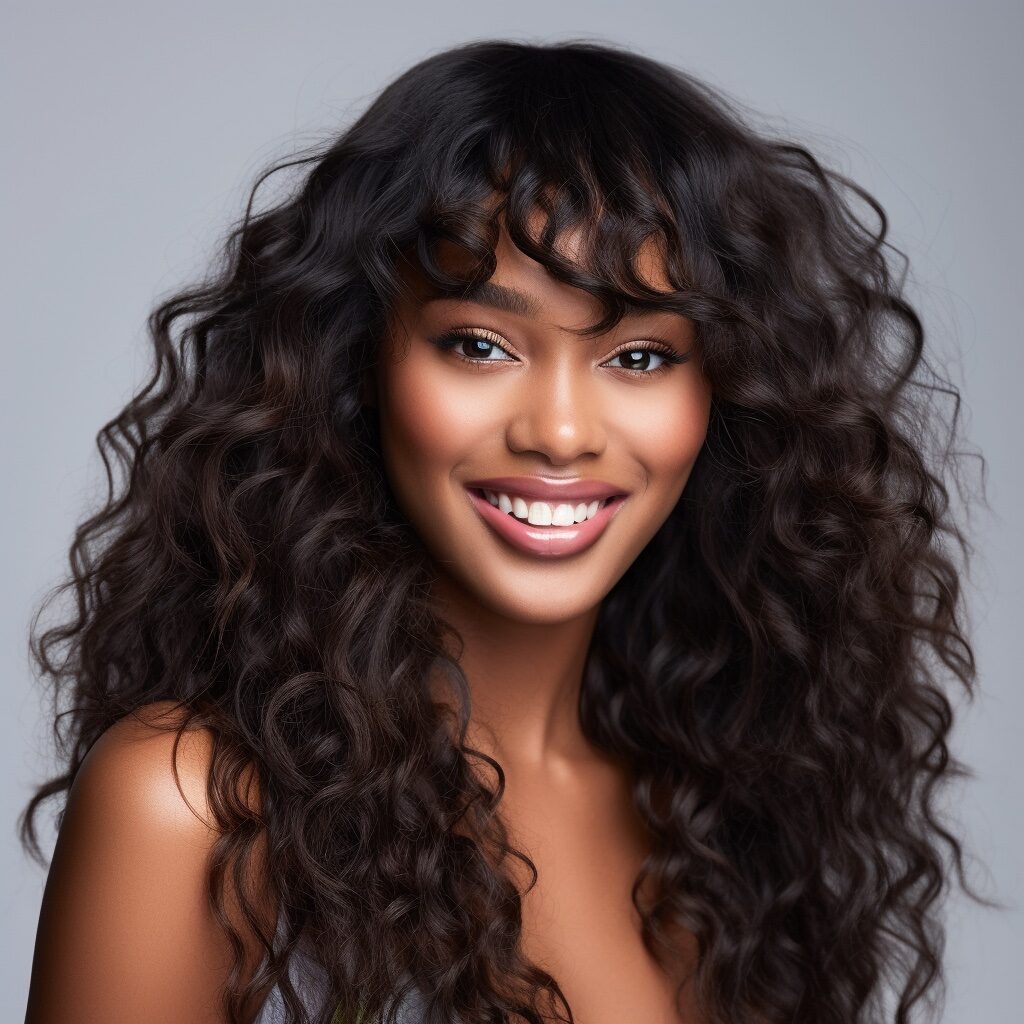
Curling iron curls are a classic and versatile hairstyle created using a curling iron or wand. This technique allows you to transform straight or wavy hair into beautiful, defined curls or loose waves.
What type of curling iron should I use?
The type of curling iron you choose depends on the desired curl size and the look you want to achieve. For tighter curls, opt for a smaller barrel size (around 1 inch), while a larger barrel (1.5 inches or more) will create looser waves. Ceramic or tourmaline curling irons are recommended for their even heat distribution and protection against heat damage.
How do I protect my hair from heat damage?
To protect your hair from heat damage, it’s essential to use a heat protectant spray or serum before using any hot styling tools. Apply the product to your hair, focusing on the ends and lengths, as these areas are most susceptible to damage. Additionally, always set your curling iron to an appropriate temperature for your hair type and avoid excessive heat exposure.
How do I curl my hair with a curling iron?
To curl your hair with a curling iron, start by dividing your hair into sections. Take a small section of hair and wrap it around the barrel of the curling iron, starting from the base and leaving the ends out for a more natural look. Hold the curling iron in place for a few seconds, then release the curl. Repeat this process for each section until your entire head is curled.
How can I make my curling iron curls last longer?
To make your curling iron curls last longer, follow these tips:
- Start with clean, dry hair free of excess product buildup.
- Use a holding spray or mousse before curling to provide extra hold.
- Allow the curls to cool completely before touching or styling them.
- Avoid brushing or combing through the curls too much, as this can cause them to loosen or frizz.
- Consider using hair clips or pins to secure the curls in place as they cool.
Curling iron curls have been a popular hairstyle for decades, with the invention of the curling iron dating back to the late 19th century. Over the years, the technology and design of curling irons have evolved, allowing for more efficient and customizable curling techniques. Today, curling iron curls remain a timeless and go-to hairstyle choice for creating beautiful, bouncy curls or glamorous waves.
Products Needed:
- Curling iron or wand
- Heat protectant spray or serum
- Hair clips or sectioning clips
- Styling mousse or holding spray
- Optional: Comb or brush for styling and a mirror for guidance
Tutorial:
Step 1: Prepare Your Hair
- Start with clean, dry hair. Apply a heat protectant spray or serum to shield your hair from heat damage. Comb or brush your hair to remove any tangles or knots.
Step 2: Divide and Clip Your Hair
- Divide your hair into sections using hair clips or sectioning clips. Start by creating a part down the middle of your head, then further divide your hair into top and bottom sections. Secure each section with clips to keep them separate.
Step 3: Heat Your Curling Iron
- Turn on your curling iron and allow it to heat up to the desired temperature. For finer hair, use a lower heat setting, while thicker or coarser hair may require a higher heat setting. Follow the manufacturer’s instructions for your specific curling iron.
Step 4: Curling Technique
- Take a small section of hair from the first section you want to curl. Hold the curling iron vertically, with the barrel pointing downward. Start near the root of the section and wrap the hair around the barrel, away from your face. Leave the ends out for a more natural look. Hold the hair around the barrel for a few seconds, then release the curl by gently sliding the curling iron out. Repeat this process for the remaining sections of hair.
Step 5: Repeat for Each Section
- Release the next section of hair from the clip and repeat the curling technique described in Step 4. Continue working through each section until all of your hair is curled.
Step 6: Cool and Set the Curls
- Allow the curls to cool completely before touching them. This helps to set the curls and make them last longer. You can speed up the cooling process by gently fanning the curls or using a cool shot button on your blow dryer.
Step 7: Final Styling
- Once the curls have cooled, you can gently tousle or shake them out for a more relaxed look. If desired, apply a small amount of hair serum or oil to add shine and reduce frizz. Finish with a light mist of hairspray to hold the curls in place.
How-To Remove:
Removing curling iron curls is simple. Follow these steps:
- Allow the curls to cool completely if you used heat.
- Use your fingers or a wide-tooth comb to gently separate the curls.
- If desired, brush through the curls for a softer, more natural look.
- Apply a lightweight leave-in conditioner or serum to add moisture and reduce any potential frizz.
With these steps, you can achieve beautiful curling iron curls that enhance your natural beauty and add a touch of elegance to your hairstyle. Experiment with different curl sizes and techniques to create a variety of looks for any occasion. Enjoy the versatility and charm of this classic hairstyle!
