
In the vast world of hair styling, few techniques have garnered as much attention and admiration as finger coils. This unique method, which transforms natural curls into beautifully defined spirals, has become a go-to for many seeking a low-maintenance yet stunning hairstyle. But like any art, mastering finger coils requires understanding its nuances and subtleties. Dive in as we unravel the world of finger coils, from its deep-rooted history to its modern-day significance.
Tracing the Roots of Finger Coils
Long before finger coils became a trending hashtag on social media, they held a special place in various cultures around the world. Historically, many African tribes used intricate hair coiling techniques as a form of self-expression, identity, and social status. These methods, passed down through generations, were not just about beauty but also about community, heritage, and pride.
Fast forward to the 21st century, and finger coils have found their way into the mainstream beauty and fashion industries. Celebrities, influencers, and everyday individuals have embraced this technique, showcasing its versatility on red carpets, runways, and everyday streets. The beauty of finger coils lies in their adaptability – they can be elegant and sophisticated or edgy and avant-garde, fitting seamlessly into both traditional and contemporary settings.
What Are Finger Coils?
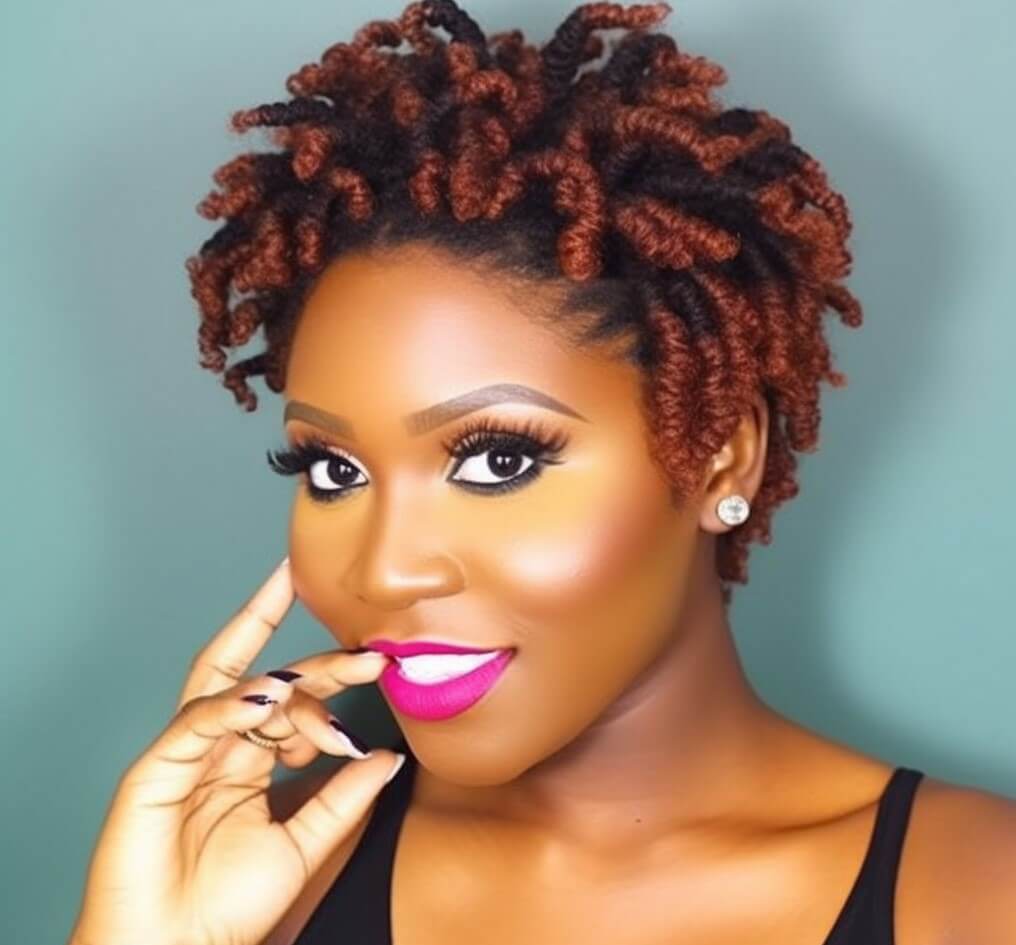
At its core, finger coiling is a method where individual strands of hair are wrapped around one’s finger to form tight, defined coils. The result? A head full of springy, vibrant curls that dance with every movement.
The Many Benefits of Finger Coiling
- Defined Curls: One of the most sought-after outcomes of finger coiling is the level of definition it brings to curls. Gone are the days of battling frizz or uneven curl patterns. With finger coils, each curl is meticulously crafted, leading to uniform and pronounced spirals.
- Low Maintenance: Despite the initial time investment, once set, finger coils require minimal upkeep. This makes them a favorite for those seeking a style that looks polished with little daily effort.
- Versatility: Whether you’re attending a formal event or just running errands, finger coils fit the bill. They can be worn loose, tied up, or even incorporated into more complex hairstyles.
Finding the Right Fit: Hair Types and Finger Coils
Finger coils are incredibly inclusive, catering to a wide range of hair types. However, their effect can vary:
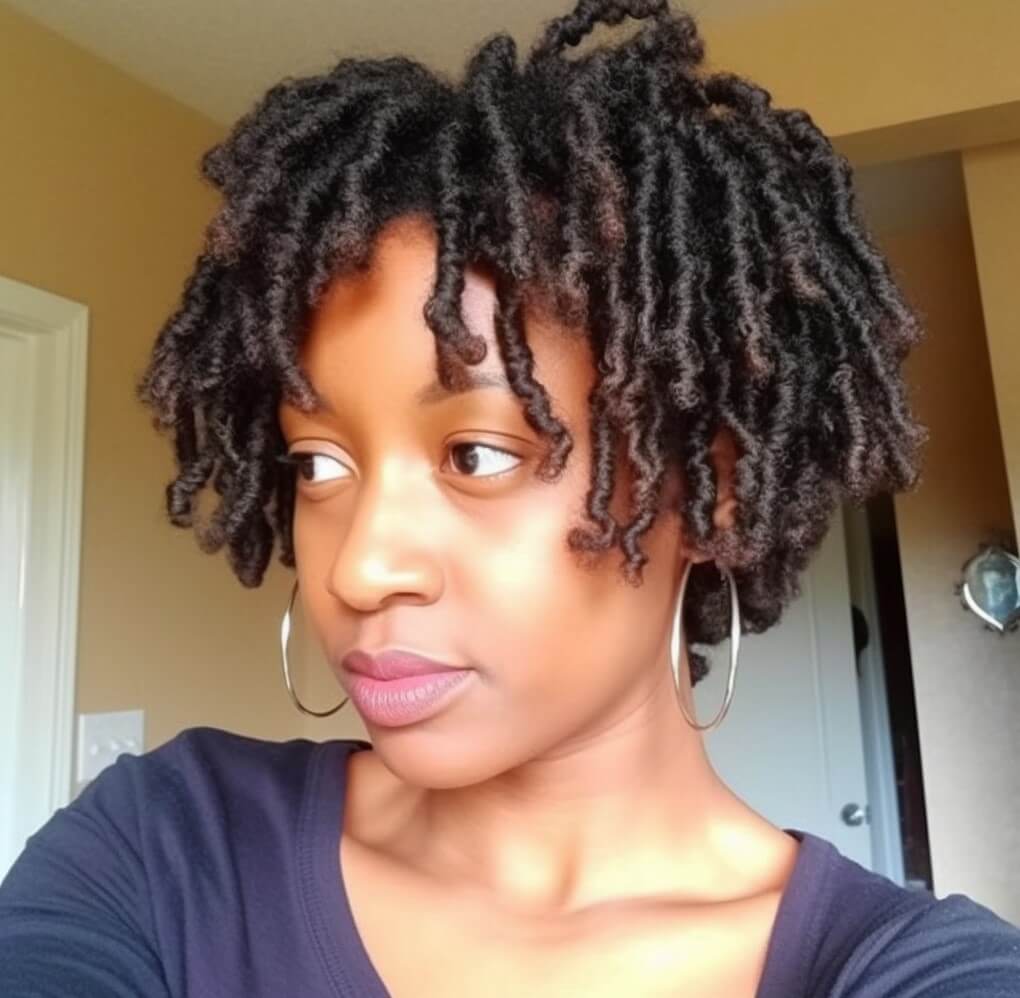
- Natural Hair: Finger coils thrive on natural hair, emphasizing its innate curl pattern and adding a layer of definition.
- 4c Hair: Often considered the most coily and dense hair type, 4c hair can greatly benefit from finger coiling. The technique can help in reducing breakage, retaining moisture, and showcasing the hair’s natural beauty.
- Short vs. Long Hair: While the technique remains consistent, the outcome can differ. Short hair results in bouncier, more pronounced coils, whereas longer hair offers a cascading effect of elongated spirals.
Materials and Products for Perfect Finger Coils
Starting with a clean and conditioned canvas is paramount for any hairstyle, and finger coils are no exception. Clean hair ensures that there’s no product build-up, allowing the new products to work effectively. Meanwhile, conditioning provides the necessary hydration, making the hair more manageable and responsive to coiling.
Choosing the Right Products
- Styling Creams: These provide hold and definition, ensuring that the coils remain intact and vibrant for longer durations.
- Leave-in Conditioners: A must-have for added moisture. They keep the hair hydrated, reducing the chances of frizz and breakage.
- Allantoin & Betaine: These ingredients are essential for those aiming for the ultimate frizz-free experience. They enhance curl elasticity, ensuring that the coils bounce back into shape even after some manipulation.
- Lightweight Creme Gels: For those seeking extra hold, especially in humid conditions, a creme gel can be a game-changer. It provides hold without making the hair crunchy or weighed down.
Essential Tools for Coiling
- Rat-tail Comb: parting and sectioning
- Spray Bottle: Keeping the hair wet is crucial during the coiling process. A spray bottle allows for even distribution of water, ensuring that the hair remains damp throughout.
- Clips: These are essential for sectioning the hair, ensuring that you work systematically and don’t miss any strands.
- Wide-tooth Combs or Detangling Brush: While finger coiling is primarily done using fingers, a comb can help in detangling and ensuring that the hair is knot-free before starting.
Drying Your Coils
- Air Drying: The most natural method. Allow your hair to dry without touching or manipulating the coils. This ensures minimal frizz and maximum definition.
- Hooded Dryer: For those in a hurry or seeking extra hold, sitting under a hooded dryer can set the coils faster. Ensure that the heat is not too high to prevent damage.
Step-by-Step Guide to Creating Finger Coils
Preparation: Wash and Condition
Begin by washing your hair using a sulfate-free shampoo. This ensures that the hair is clean without being stripped of its natural oils. Follow up with a moisturizing conditioner, focusing on the ends, which are often the driest parts. Rinse thoroughly.
Product Application: The Art of Layering
- Leave-in Conditioner: Start by applying a leave-in conditioner. This acts as a base, ensuring that the hair remains moisturized.
- Styling Cream or Creme Gel: Depending on your hair type and the hold you desire, choose between a styling cream or a creme gel. Apply it evenly, ensuring that every strand is coated.
The Coiling Technique
- Sectioning: Section your hair into small, manageable sections using a wide-tooth comb or detangling brush. You can also use a rat-tail comb to create precise parts if desired.
- Wetting: Before you start coiling, ensure that the section you’re working on is damp. Use the spray bottle to mist the hair if it starts drying out.
- Styling Creme: Take a small section of hair and apply a curl-enhancing cream or gel to ensure the hair is well-coated.
- Coiling: Take small sections of hair (about 1-2 inches) and wrap them around your finger, starting from the root and moving to the tip. Ensure that the coil is tight and uniform. Gently release your finger from the coil, allowing the hair to form a spiral shape. Repeat this process for each section of hair.
- Dry Finger Coils: Once all the hair is coiled, allow the coils to air dry or use a diffuser attachment on a low heat setting to speed up the drying process.
- Once the coils are completely dry: you can leave them as they are or separate them slightly for a fuller look.
Remember, finger coils require patience and practice to achieve the desired results. Experiment with different techniques, products, and section sizes to find what works best for your hair type and desired outcome.
Maintenance and Care
- Avoiding Touch: It’s tempting to play with those perfectly coiled curls, but resist the urge. Touching the hair too often can lead to frizz and may loosen the coils.
- Hydrating: Curly hair naturally tends to be drier. Ensure you keep it moisturized by spritzing with a water and leave-in conditioner mix or using a hydrating serum.
- Refreshing: If you notice some coils losing their definition, you can refresh them individually. Dampen the coil, apply a bit of styling product, and re-coil using your finger.
Night-time Care for Long-lasting Coils
Sleeping can be a challenge when you want to maintain the integrity of your finger coils. Here’s how to protect them:
- Satin Bonnets: These are a curly girl’s best friend. They reduce friction, which can cause frizz and breakage. Simply wear one before you sleep to keep your coils intact.
- Satin or Silk Pillowcases: If bonnets aren’t your thing, these pillowcases are a great alternative. They offer a smooth surface, reducing the chances of your hair getting tangled or frizzy.
Extending the Life of Your Coils
After a week or so, if you’re looking for a change, you can carefully unravel each coil. This will give you a fluffy, voluminous coil out, extending the life of your style.
Pros and Cons of Finger Coiling
The Upsides
- Defined, Long-lasting Curls: One of the most significant benefits of finger coiling is the definition it brings to each curl. And with proper care, this definition can last for days, if not weeks.
- Versatility: From casual outings to formal events, finger coils fit seamlessly into any setting, making them a versatile choice.
The Challenges
Time Consumption: Achieving perfect finger coils can be time-consuming, especially for those with longer or denser hair.
- Shrinkage: A common concern with curly hair, shrinkage can be more pronounced with finger coils, making the hair appear shorter.
- Potential Lack of Volume: While the coils are defined, some might find the overall look less voluminous, especially those with low-density hair.
Finger Coils as a Protective Style
Protective styles, as the name suggests, protect the hair from external factors like environmental damage, excessive manipulation, and friction. They play a crucial role in maintaining the health of the hair, especially for those with curly or coily textures.
- Promoting Hair Growth: By reducing the need for daily manipulation and styling, finger coils can help in reducing breakage, a common concern for many. Less breakage means better length retention, promoting healthier hair growth.
- Preventing Breakage: The very nature of finger coils, where each strand is neatly coiled and defined, reduces the chances of tangling, one of the primary causes of breakage.

FAQs
Can anyone do finger coils?
Finger coils work best on hair that has natural curl or coil patterns. They can be done on various hair types, including tightly coiled, curly, and wavy hair. However, hair that is straight or has minimal curl may not hold the coils as well.
How long do finger coils last?
Finger coils, when properly maintained, can last anywhere from 1 to 2 weeks. Their longevity largely depends on the hair type, the size of the coils, and the care routine followed. Smaller coils tend to last longer as they remain tighter, while larger coils might become frizzy sooner.
Can finger coils be done on dreads?
Yes, finger coils can be done on dreads, especially on newer or softer dreads. The process helps in defining and tightening the dreads, giving them a more polished appearance. However, it’s essential to ensure that the dreads are clean and free from product buildup before starting.
How to refresh finger coils without ruining the look?
Refreshing finger coils is a delicate process. Start by lightly misting the hair with a water and leave-in conditioner mix. If a coil has lost its definition, dampen it, apply a small amount of styling product, and re-coil using your finger. It’s crucial to handle the hair gently to prevent frizz and maintain the coil’s structure.
Differences between short finger coils and long finger coils?
Short finger coils tend to be bouncier and more pronounced due to the hair’s length. They often give a more voluminous appearance. Long finger coils, on the other hand, offer a cascading effect of elongated spirals. While the technique remains consistent, the outcome and overall look can vary based on the hair’s length.
From their deep-rooted cultural significance to their modern-day fashion appeal, they offer a unique blend of tradition and contemporary style. Beyond their aesthetic allure, they serve as a protective style, promoting hair health and growth.