Ombre
FAQs:
What is ombre hair?
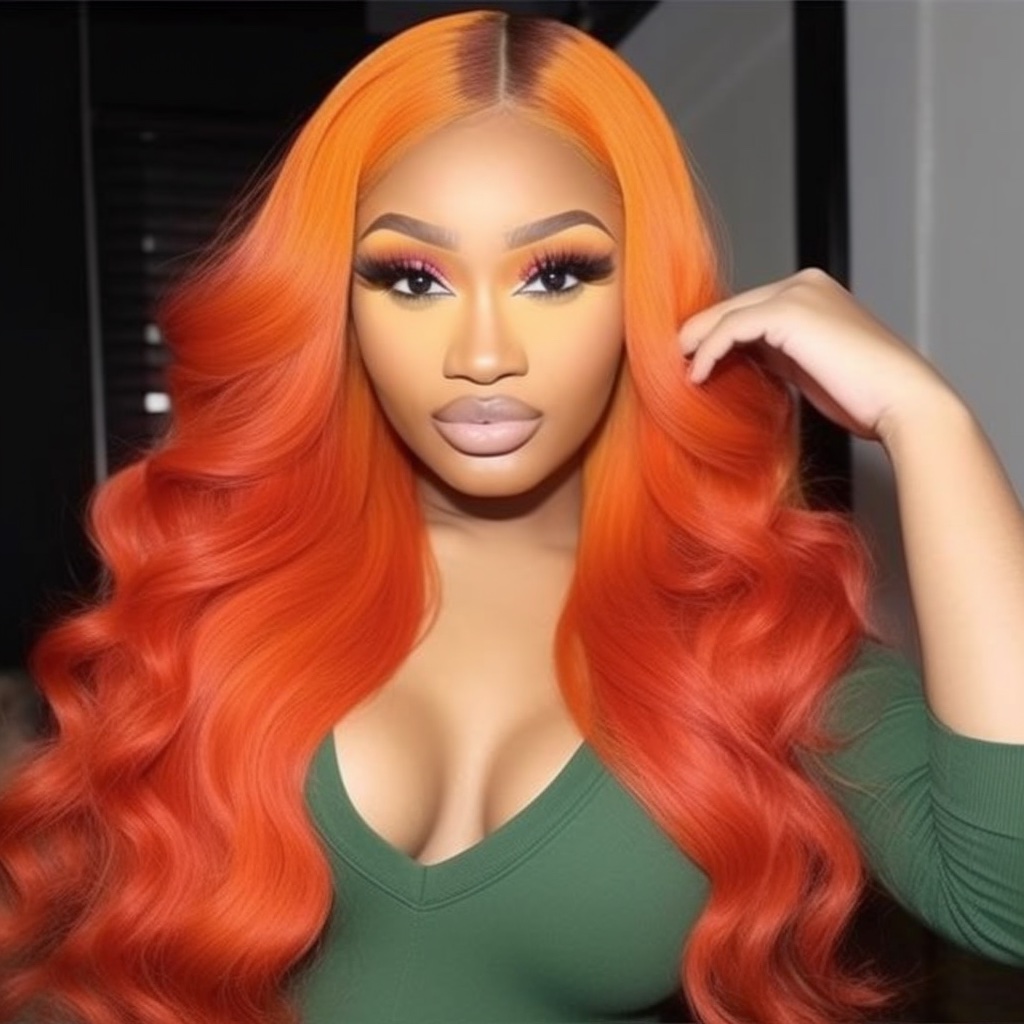
Ombre hair refers to a hair coloring technique where the hair transitions from a darker shade at the roots to a lighter shade towards the ends. The word “ombre” means “shaded” or “graduated” in French, and this technique creates a seamless blend of colors for a stunning and natural-looking effect.
Can anyone get an ombre hairstyle?
Yes, ombre hair can be achieved on various hair types and lengths. It’s a versatile technique that can be customized to suit different preferences and hair colors. Whether you have long or short hair, straight or curly, there’s an ombre style that can complement your look.
What are the different types of ombre hair?
There are several variations of ombre hair, including:
- Classic Ombre: The traditional ombre style with a smooth transition from dark roots to light ends.
- Reverse Ombre: The opposite of classic ombre, where the hair transitions from light at the roots to dark towards the ends.
- Balayage Ombre: A combination of ombre and balayage techniques, where the hair is hand-painted to create a soft and natural gradient.
- Sombré: A subtle and softer version of ombre, with a more gradual transition between the colors.
- Colorful Ombre: Ombre with unconventional and vibrant colors, such as pastels or bold shades.
How is ombre hair achieved?
Ombre hair can be achieved through different methods, including:
- Balayage Technique: This involves hand-painting the color onto the hair, creating a more natural and blended look.
- Foiling Technique: Hair sections are separated and colored using foils, providing more control over the color placement.
- Dip-Dye Technique: The ends of the hair are dipped into a hair dye, creating a bold and defined color contrast.
It’s important to consult with a professional hairstylist who specializes in color to achieve the desired ombre effect. They will be able to assess your hair and recommend the best technique and color choices for your specific hair type and desired look.
History:
The ombre hair trend gained popularity in the early 2010s and has since become a popular choice for those seeking a stylish and low-maintenance hair color. It was inspired by the natural sun-kissed highlights that often appear on hair after spending time in the sun. Celebrities and influencers helped popularize the ombre trend, and it has remained a sought-after hairstyle ever since.
Products Needed:
- Hair bleach or lightener (if lightening the hair)
- Hair dye in desired colors
- Developer or activator for the hair dye
- Color brush or applicator
- Gloves
- Mixing bowl
- Foils or plastic wrap (depending on the coloring technique)
- Hair clips or hair ties
- Shampoo and conditioner for color-treated hair
- Hair treatments or masks for color-treated hair
- Heat protectant spray (if using heat styling tools)
Tutorial:
Creating an ombre hairstyle is a complex process best done by a professional hairstylist. Here’s a general overview of the steps involved:
- Consultation: Discuss your desired ombre look with a professional hairstylist. They will assess your hair, discuss color options, and recommend the best technique to achieve your desired result.
- Preparation: The hairstylist will prepare your hair by sectioning it and applying a protective barrier, such as Vaseline or conditioner, to the roots and scalp to prevent color transfer.
- Color Application: Using the chosen technique (balayage, foiling, or dip-dye), the hairstylist will apply the hair bleach or lightener to the mid-lengths and ends of your hair, leaving the roots untouched. This process lightens the hair to create the ombre effect.
- Processing Time: The hairstylist will monitor the hair color as it develops, allowing the bleach or lightener to process according to the manufacturer’s instructions. This can take anywhere from 20 minutes to an hour, depending on the desired level of lightness.
- Rinse and Tone: After the desired lightness is achieved, the hairstylist will rinse out the bleach or lightener and may apply a toner to neutralize any unwanted brassy tones and create a more seamless blend of colors.
- Color Application (if applicable): If you’ve chosen a colorful ombre, the hairstylist will apply the desired hair dye to the lightened sections of your hair. This can be done using the same technique as the initial lightening process.
- Processing Time (if applicable): The hairstylist will allow the hair dye to process according to the manufacturer’s instructions, typically around 30 minutes. This time may vary depending on the brand and color intensity.
- Rinse and Style: Once the processing time is complete, the hairstylist will rinse out the hair dye and apply a color-safe shampoo and conditioner. They may also use a hair treatment or mask to nourish and restore moisture to the hair. Finally, the hairstylist will style your hair, allowing you to see the finished ombre look.
Please note that the above steps are a general overview of the ombre coloring process. The specific techniques and products used may vary depending on individual hair needs and the expertise of the hairstylist.
How to Remove:
Removing an ombre hairstyle typically involves a color correction process, which can be complex and is best done by a professional hairstylist. The specific method used will depend on the current color of your hair and the desired end result.
Here are general steps involved in removing ombre hair:
- Consultation: Schedule a consultation with a professional hairstylist who specializes in color correction. Discuss your desired outcome and any concerns you may have.
- Color Removal: The hairstylist will assess your hair and determine the best approach to remove the ombre color. This may involve using color removers, lighteners, or a combination of techniques to gradually fade or remove the lighter color from the ends.
- Transition Color: After the color removal process, the hairstylist may recommend applying a transition color to blend the remaining color and create a more natural-looking result.
- Toning: Depending on the underlying tones in your hair, the hairstylist may use a toner to further adjust the color and create a more cohesive look.
- Haircare and Maintenance: Following the color correction process, it’s essential to maintain the health and condition of your hair. This may involve using color-safe shampoos and conditioners, regular deep conditioning treatments, and minimizing heat styling to prevent further damage.
It’s crucial to consult with a professional hairstylist to ensure a safe and effective removal process. They will have the expertise and knowledge to assess your hair and recommend the best course of action based on its current condition and the desired end result.

