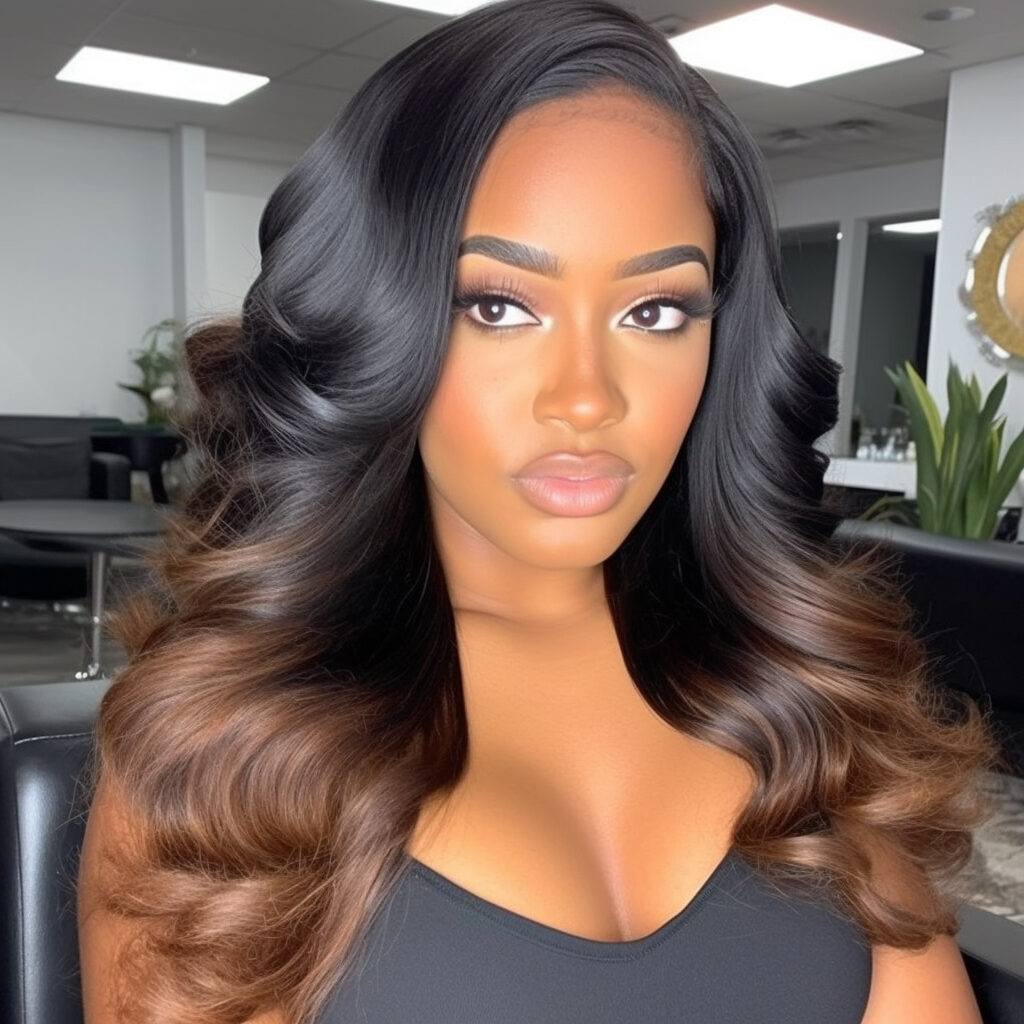
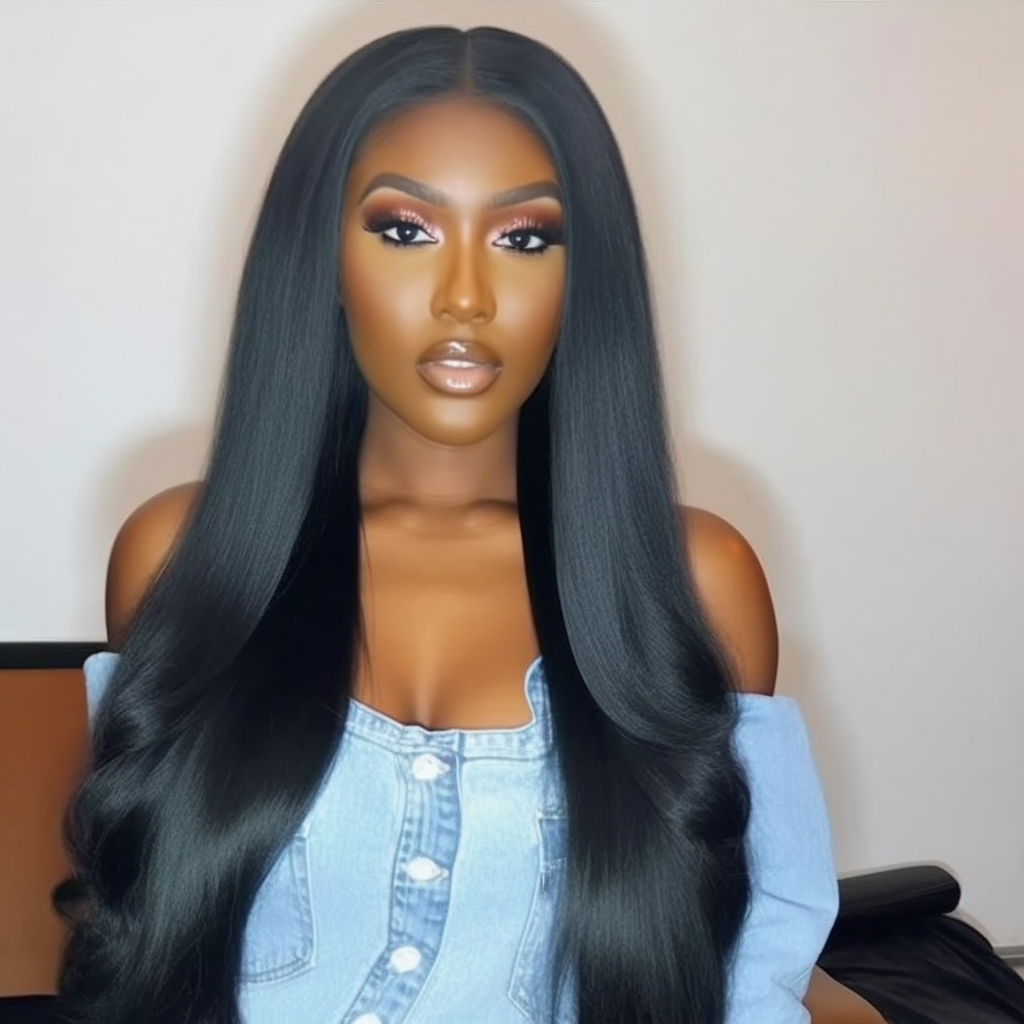
What is a traditional sew-in weave? A traditional sew-in weave is a popular method of installing hair extensions by sewing them onto a braided base. It involves creating cornrows or braids on the natural hair, and then sewing wefts of hair onto the braids using a needle and thread. This technique allows for a secure and long-lasting installation.
How long does a traditional sew-in weave last? The duration of a traditional sew-in weave can vary depending on factors such as hair growth, maintenance, and the quality of the installation. On average, it can last between 6 to 8 weeks. However, it is important to properly care for the weave and the natural hair underneath to ensure its longevity.
Can anyone get a traditional sew-in weave? Yes, a traditional sew-in weave can be done on various hair types and textures. However, it is important to have a consultation with a professional stylist to assess the condition of your natural hair and determine if it is suitable for the installation. Additionally, it is essential to consider the weight and tension of the weave on your natural hair to avoid potential damage.
How is a traditional sew-in weave installed? To install a traditional sew-in weave, the natural hair is first prepared by washing, conditioning, and moisturizing. The hair is then braided into cornrows or other desired braid patterns close to the scalp. Wefts of hair extensions are measured, cut, and sewn onto the braided base using a curved needle and thread. The process is repeated until the desired fullness and length are achieved.
How do I maintain a traditional sew-in weave? Proper maintenance is crucial to keep your sew-in weave looking fresh and to protect your natural hair. Some tips for maintenance include:
Gently washing and conditioning the weave and scalp regularly.
Avoiding excessive pulling or tugging on the hair and weave.
Sleeping with a satin or silk bonnet or using a silk or satin pillowcase to reduce friction.
Keeping the scalp and hair moisturized to prevent dryness and breakage.
Avoiding heavy styling products or excessive heat that may damage the weave or natural hair.
History: The use of sew-in weaves for hair extensions has been popular for many years, and the technique has evolved over time. It has its roots in the African Americancommunity, where women sought to enhance their hair length and volume. Traditional sew-in weaves offer versatility in styling options and are widely used by individuals looking to change their hairstyle or protect their natural hair.
Wash and condition your natural hair to ensure it is clean and ready for the installation.
Section your hair and create cornrows or braids close to your scalp. The braids should be neat and evenly spaced, providing a solid base for the sew-in.
Measure and cut the hair extensions (wefts) according to the desired length and volume.
Thread the curved needle with the weaving thread, and secure the end of the thread with a knot.
Starting from the back of your head, sew the wefts of hair extensions onto the braids. Take a small section of the weft and attach it to the first braid by sewing through the weft and the braid with the needle and thread. Repeat this process for each braid, ensuring a secure attachment.
ShineMyCrown.com is a digital platform which aims to represent the Black and Brown experience across the world. Covering entertainment, news, lifestyle, health fashion, beauty, politics and everything in between, we strive to create a platform that entertains, educates and inspires.
