FAQs:
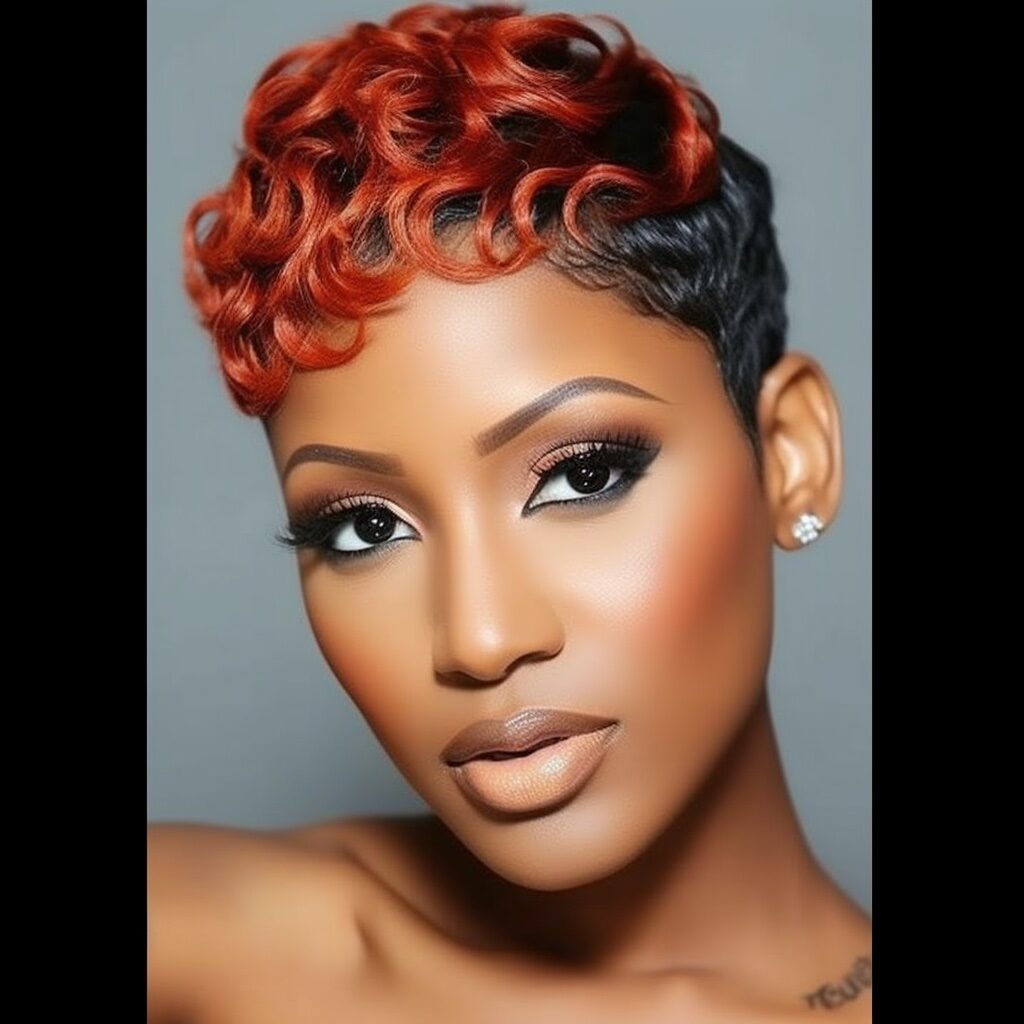
What are pin curls?
Pin curls are a classic hairstyling technique where hair is rolled into loops and secured with bobby pins to create curls. They were popularized in the early 20th century and continue to be a stylish and versatile way to achieve elegant, vintage-inspired curls.
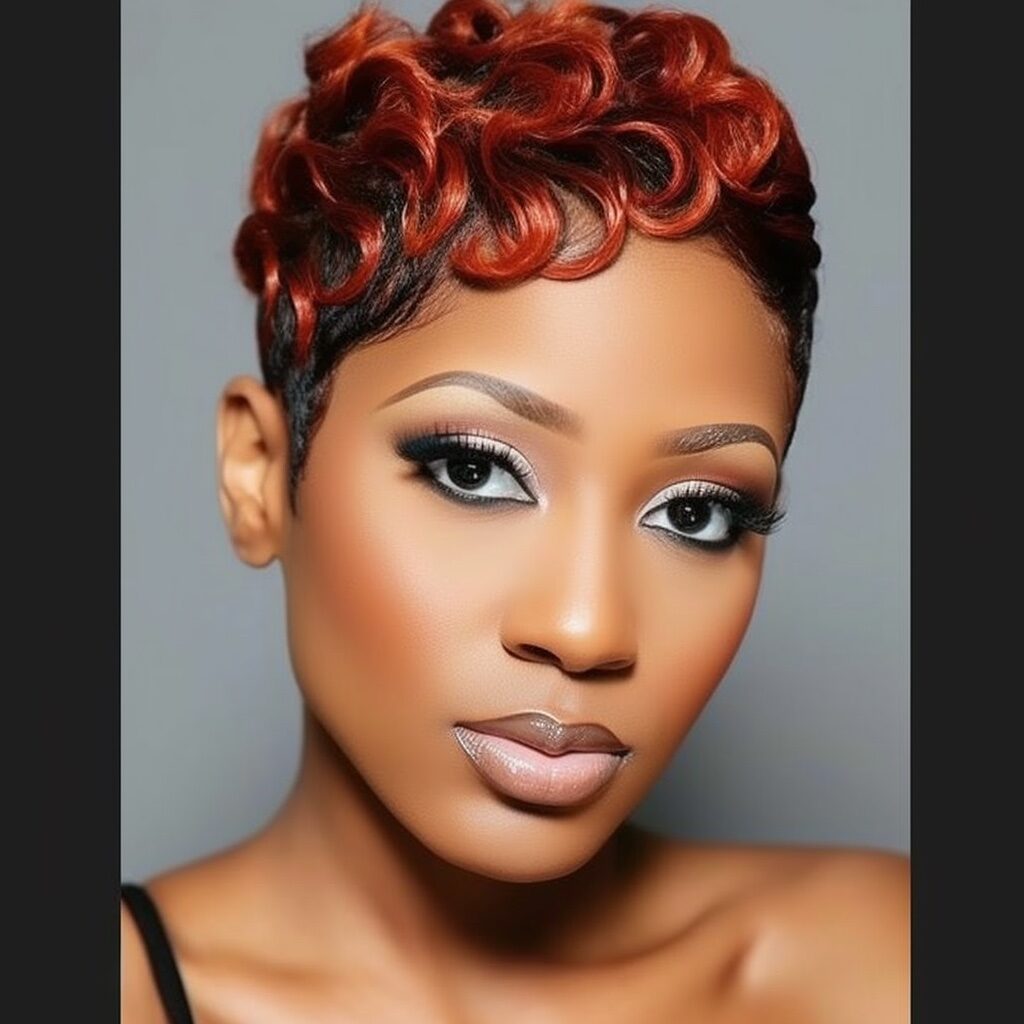
Can anyone create pin curls?
Yes, anyone with medium to long hair can create pin curls. Pin curls work well on various hair types, including straight, wavy, and curly hair. They can be done on both natural and chemically treated hair.
How long do pin curls need to set?
The time required for pin curls to set can vary depending on your hair texture, thickness, and desired curl tightness. In general, it is recommended to leave pin curls in overnight or for at least a few hours to ensure the curls fully set.
How do I create pin curls?
Creating pin curls requires a few simple steps. Here’s a step-by-step guide:
- Start with clean, dry hair:
- Begin with freshly washed and completely dry hair. Pin curls are best created on clean hair to achieve long-lasting results.
- Divide your hair into sections:
- Divide your hair into smaller sections using a comb or your fingers. The size of the sections will determine the size and tightness of the curls. Smaller sections will create tighter curls, while larger sections will result in looser curls.
- Apply a styling product:
- Apply a small amount of styling product, such as mousse, curl cream, or setting lotion, to each section of hair. This will help to set and hold the curls.
- Roll the hair into pin curls:
- Take one section of hair and wrap it around your finger or a curling rod, starting from the ends and rolling towards the roots. Once you reach the scalp, secure the curl in place by inserting bobby pins horizontally or diagonally.
- Repeat for all sections:
- Repeat the rolling process for each section of hair until your entire head is set in pin curls. Make sure to roll the curls in the same direction for a uniform look.
- Allow the curls to set:
- Let the pin curls set for several hours or overnight. The longer you leave them in, the more defined and long-lasting the curls will be.
- Remove the pins and style:
- Carefully remove the bobby pins and gently unravel each pin curl. Use your fingers or a wide-tooth comb to separate and shape the curls. Style your hair as desired, adding hairspray for extra hold if needed.
How-To Remove Pin Curls:
Removing pin curls is a simple process. Follow these steps:
- Remove the bobby pins:
- Start by carefully removing the bobby pins from each pin curl. Take your time to avoid pulling or snagging your hair.
- Unravel the curls:
- Gently unravel each pin curl by unwinding it from the rolled position. Avoid tugging or brushing through the curls to maintain their shape.
- Separate and shape the curls:
- Once all the pin curls are unraveled, use your fingers or a wide-tooth comb to separate and shape the curls. You can create a more voluminous look by gently fluffing the curls.
- Style as desired:
- Style your hair as desired, using your fingers or a comb to arrange the curls into your preferred hairstyle. Finish with hairspray for hold and longevity.
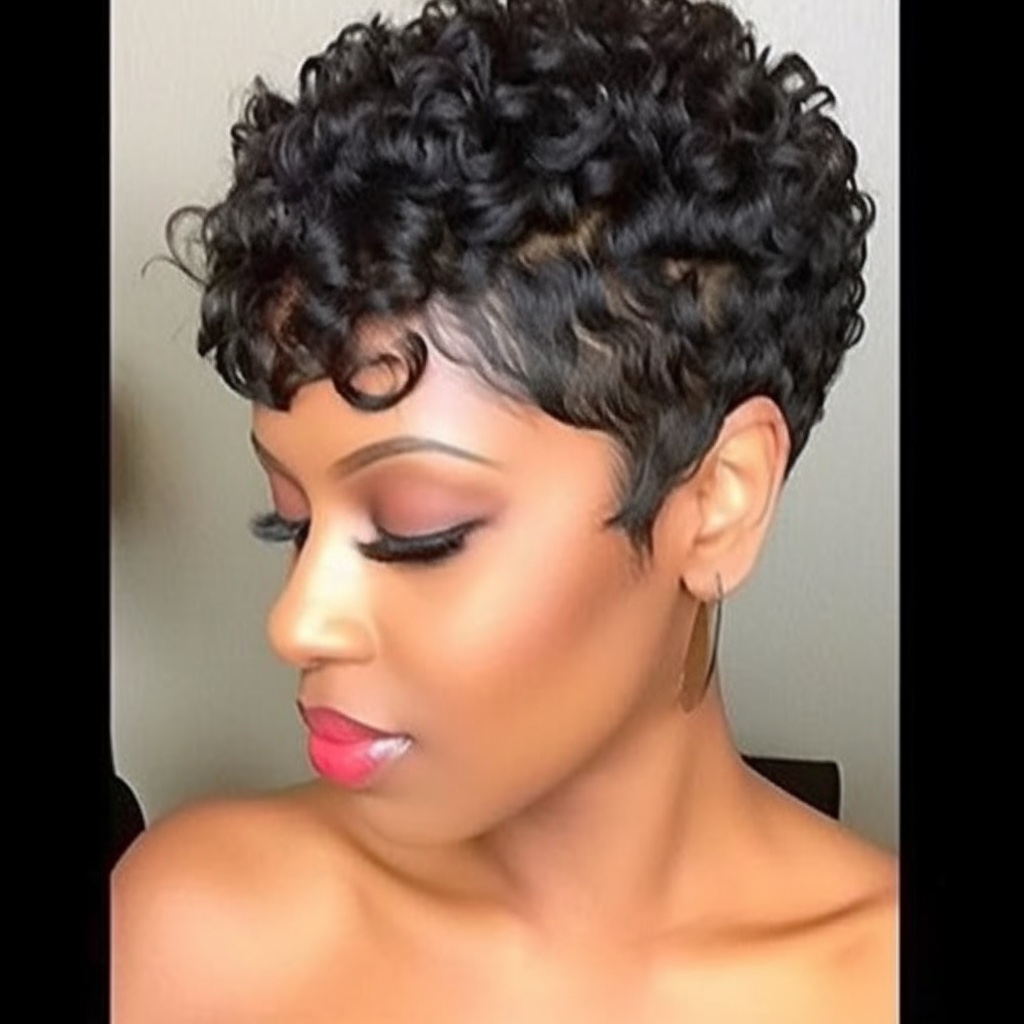
Pin curls are a timeless hairstyling technique that allows you to achieve beautiful, vintage-inspired curls. Whether you’re aiming for an elegant updo or a glamorous down hairstyle, pin curls can add a touch of classic charm
to your look.