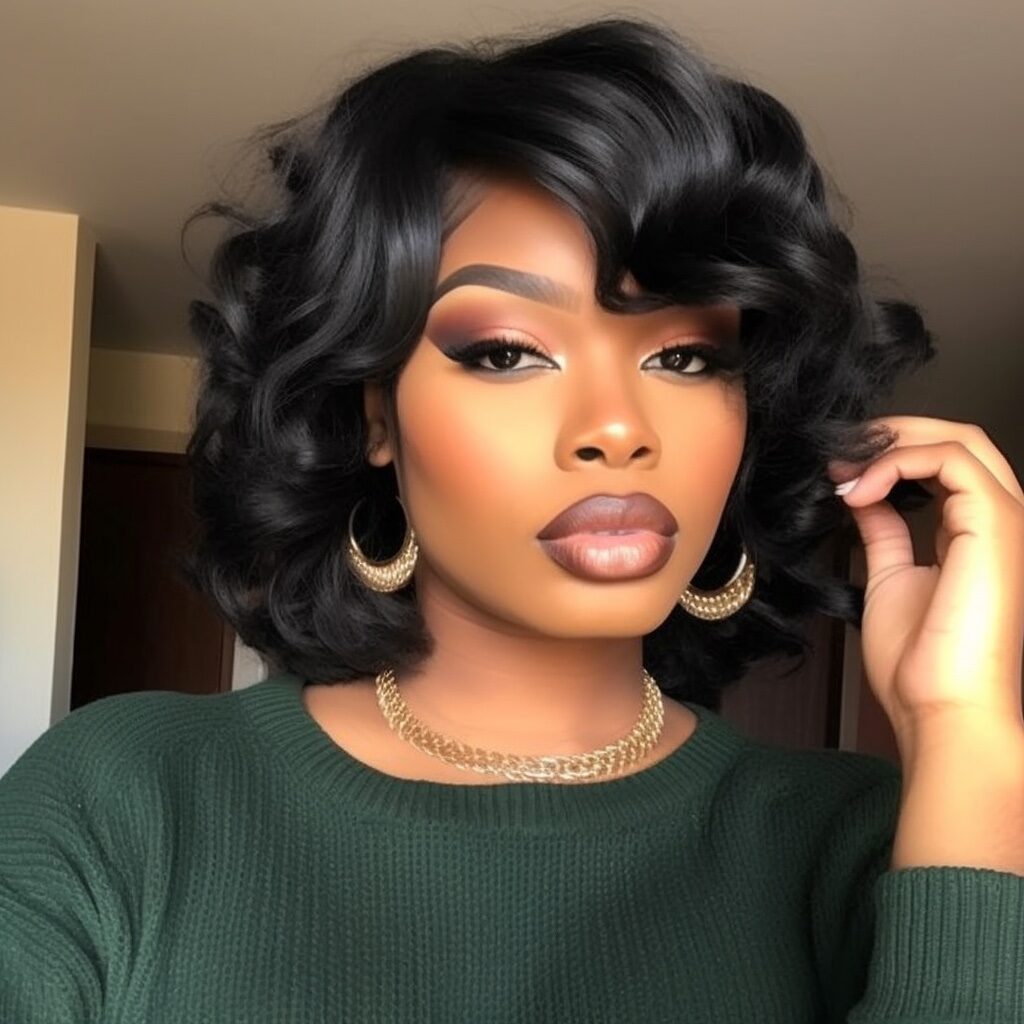
Pin Curls
FAQs:
What are pin curls?
Pin curls are a classic hairstyling technique used to create curls or waves in the hair. They involve wrapping sections of hair around your finger or a curling tool and securing them with bobby pins to set the curls in place.
Can pin curls be done on any hair type or length?
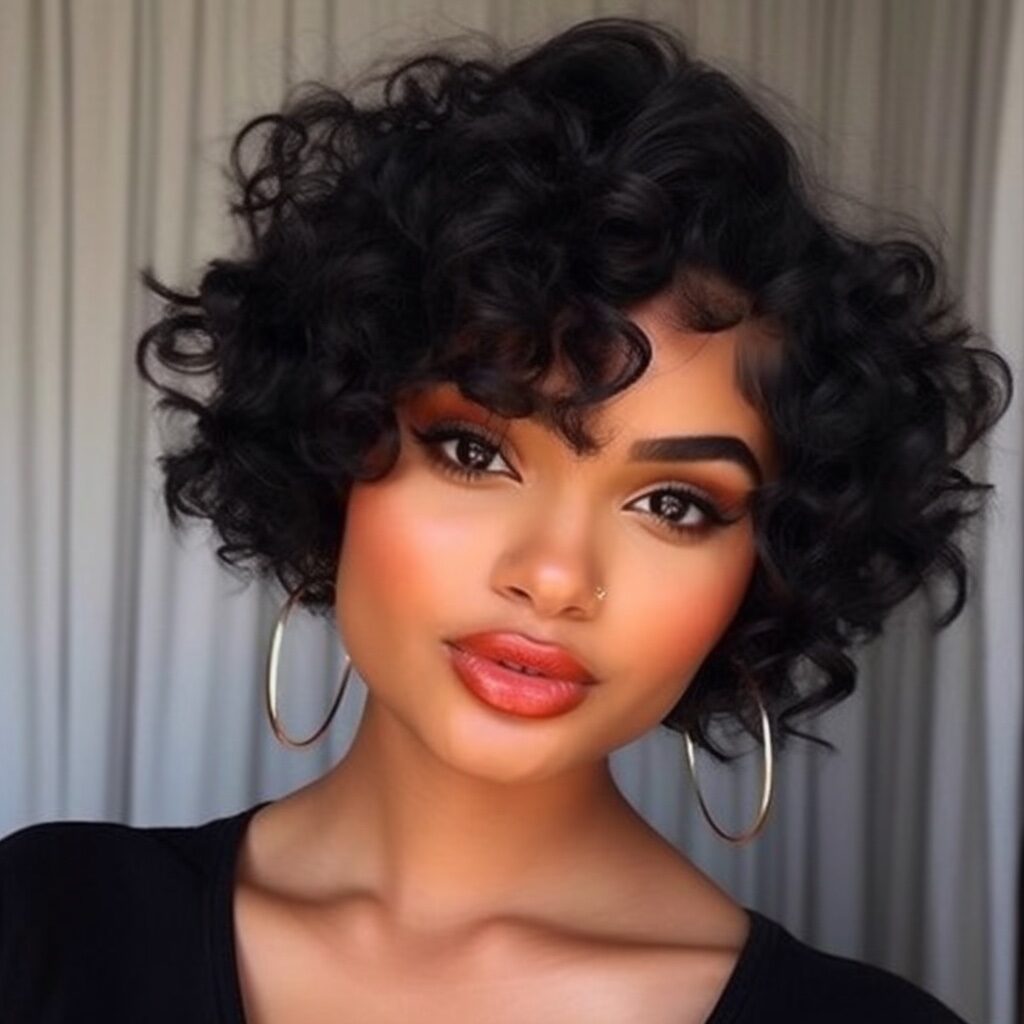
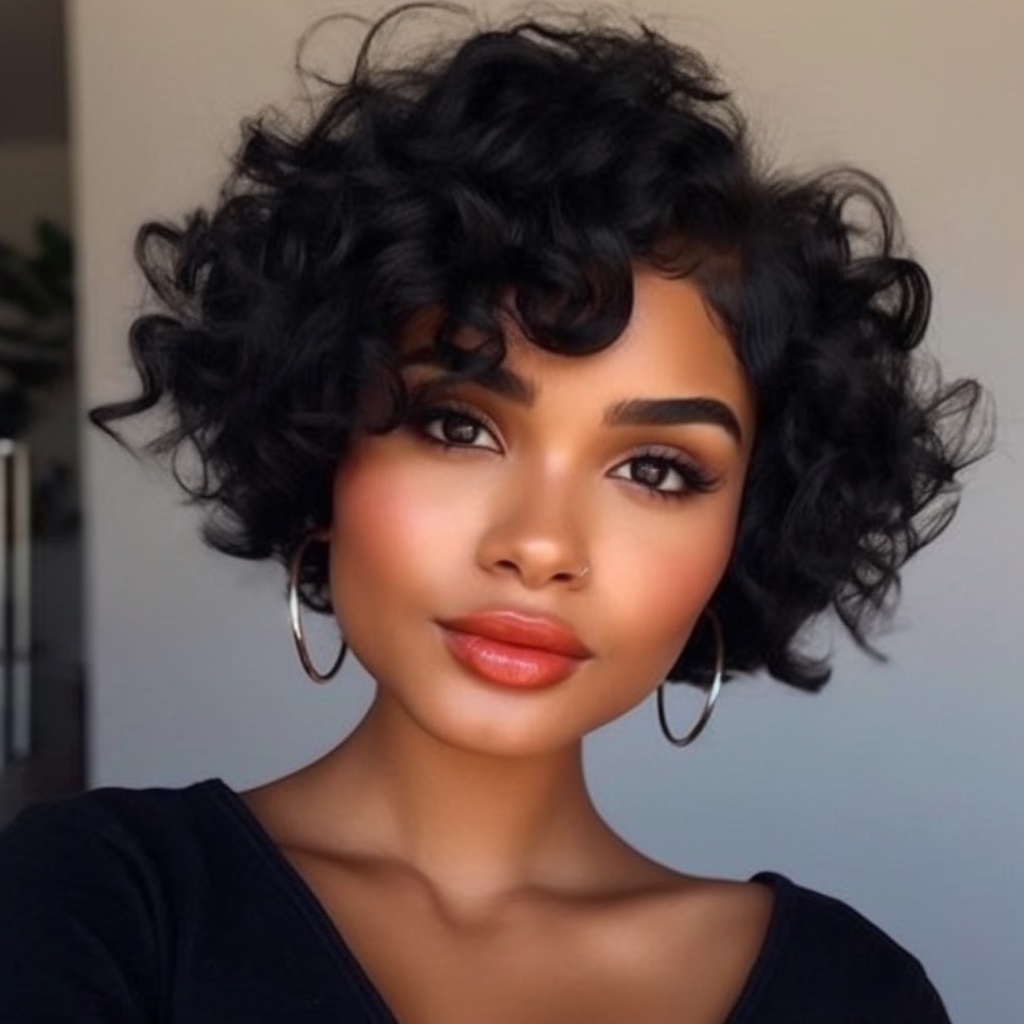
Yes, pin curls can be done on various hair types and lengths, although they may yield different results. They work well on medium to long hair lengths and can be adapted for different textures, from straight to wavy or curly hair.
How long should I leave pin curls in my hair?
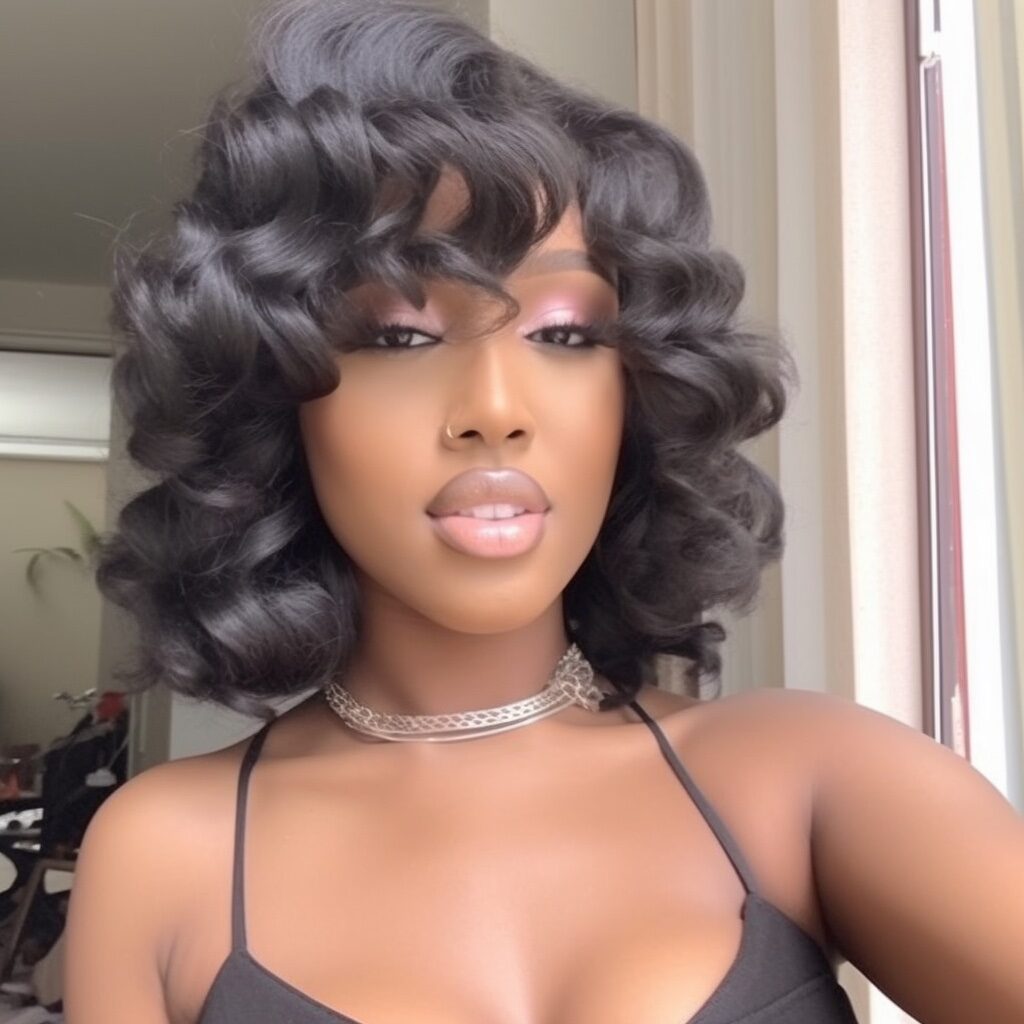
The duration for leaving pin curls in your hair can vary depending on factors such as your hair type, desired curl tightness, and how well your hair holds curls. Generally, it’s recommended to leave pin curls in overnight to ensure they set properly and the curls have time to form.
What products can I use to enhance the longevity of pin curls?
To enhance the longevity of pin curls, you can apply a styling product with hold, such as a mousse, setting lotion, or hairspray, before creating the pin curls. These products can help the curls hold their shape for a longer time.
Description:
Pin curls are a classic hairstyling technique that creates curls or waves by wrapping sections of hair around your finger or a curling tool and securing them with bobby pins. They can be done on various hair types and lengths, offering a versatile way to achieve vintage-inspired or glamorous hairstyles.
Products Needed:
- Comb or brush
- Bobby pins
- Styling product (e.g., mousse, setting lotion, hairspray)
- Curling tool (optional)
- Hair clips (optional)
Tutorial:
- Start with clean, dry hair. Comb or brush through your hair to remove any tangles or knots.
- Prepare your styling product. If using a mousse or setting lotion, apply a small amount to your hair, focusing on the sections where you’ll be creating pin curls. This will help set the curls and enhance their longevity.
- Take a small section of hair, approximately 1-2 inches wide, and comb it through to ensure it’s smooth and tangle-free.
- Hold the section of hair taut and wrap it tightly around your finger, starting from the ends and rolling it up toward the scalp.
- Once you’ve reached the scalp, secure the curl in place by inserting a bobby pin through the center of the curl, perpendicular to your scalp. Make sure the pin is securely fastened to hold the curl in place.
- Continue creating pin curls throughout your hair, taking small sections at a time. You can create curls in the same direction for a uniform look or alternate the direction for a more natural, textured result.
- If you prefer using a curling tool, you can wrap the hair around the barrel of the curling iron or wand instead of your finger before securing it with a pin.
- Once all the hair is in pin curls, you can optionally secure them with hair clips or cover your head with a satin scarf or hairnet to protect the curls while they set.
- Leave the pin curls in your hair for several hours or overnight to allow the curls to fully form and set.
- When you’re ready to remove the pin curls, carefully remove the bobby pins and gently unravel each curl with your fingers.
- Use a wide-toothed comb or your fingers to gently loosen and shape the curls according to your desired style.
- Finish with a light mist of hairspray to help hold the curls in place throughout the day.
Enjoy your beautifully curled hair with a touch of
vintage charm achieved through the timeless technique of pin curls!