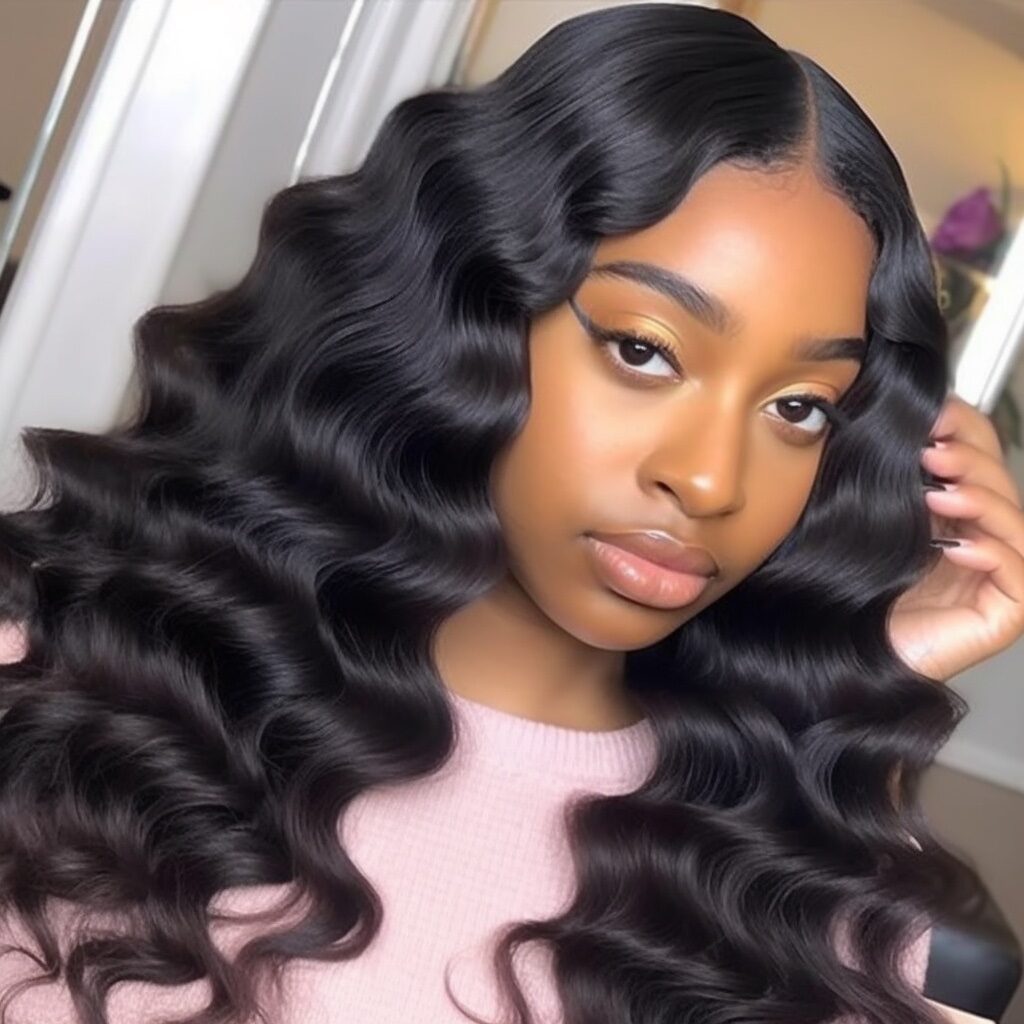
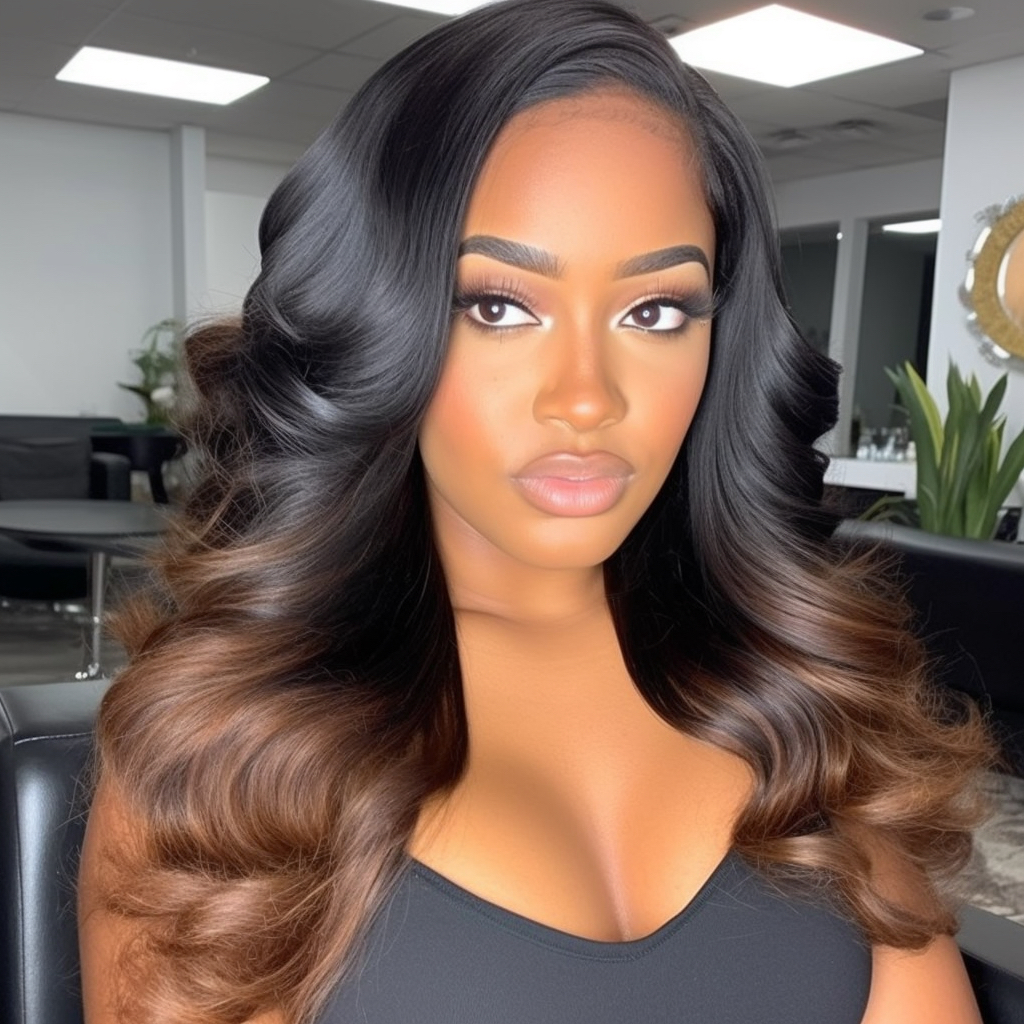
Wand Curls
FAQs:
What are wand curls?
Wand curls are a type of curl created using a curling wand, also known as a curling iron without a clamp. This styling tool allows you to wrap sections of hair around the wand, resulting in loose, natural-looking curls or waves.
Can anyone achieve wand curls?
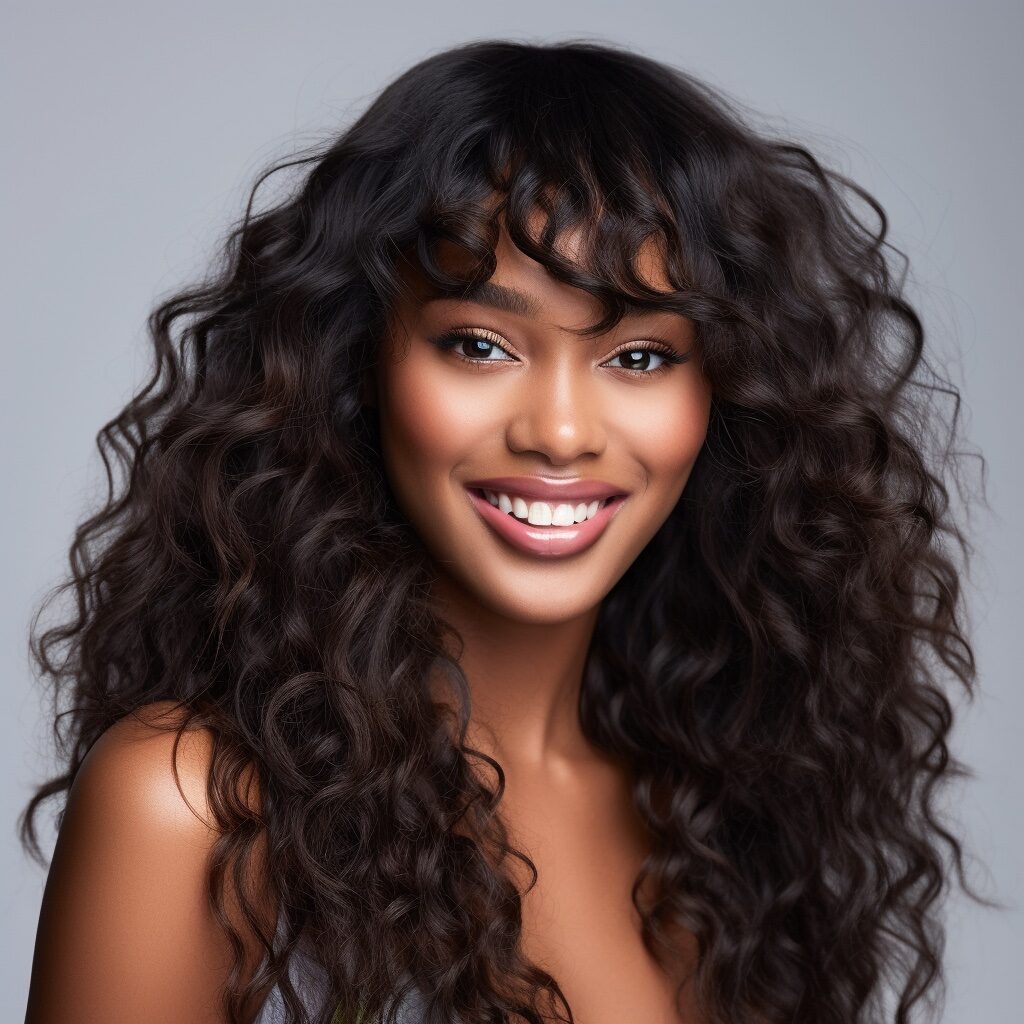
Yes, wand curls can be achieved by anyone with medium to long hair, regardless of hair texture. However, the size of the curling wand and the technique used may vary depending on your desired curl size and the natural texture of your hair.
What do I need to create wand curls?
To create wand curls, you will need the following tools and products:
- Curling wand (choose a size that corresponds to your desired curl size)
- Heat protectant spray
- Sectioning clips or hair clips
- Styling comb or brush
- Hair spray or other styling products for hold
- Optional: Curling wand glove (to protect your hand from the heat)
How do I create wand curls?
Here is a step-by-step tutorial to create wand curls:
- Start with clean, dry hair. Apply a heat protectant spray to your hair to protect it from the heat of the curling wand.
- Plug in the curling wand and let it heat up to the desired temperature. Lower temperatures are recommended for fine or damaged hair, while higher temperatures can be used for thicker or coarser hair.
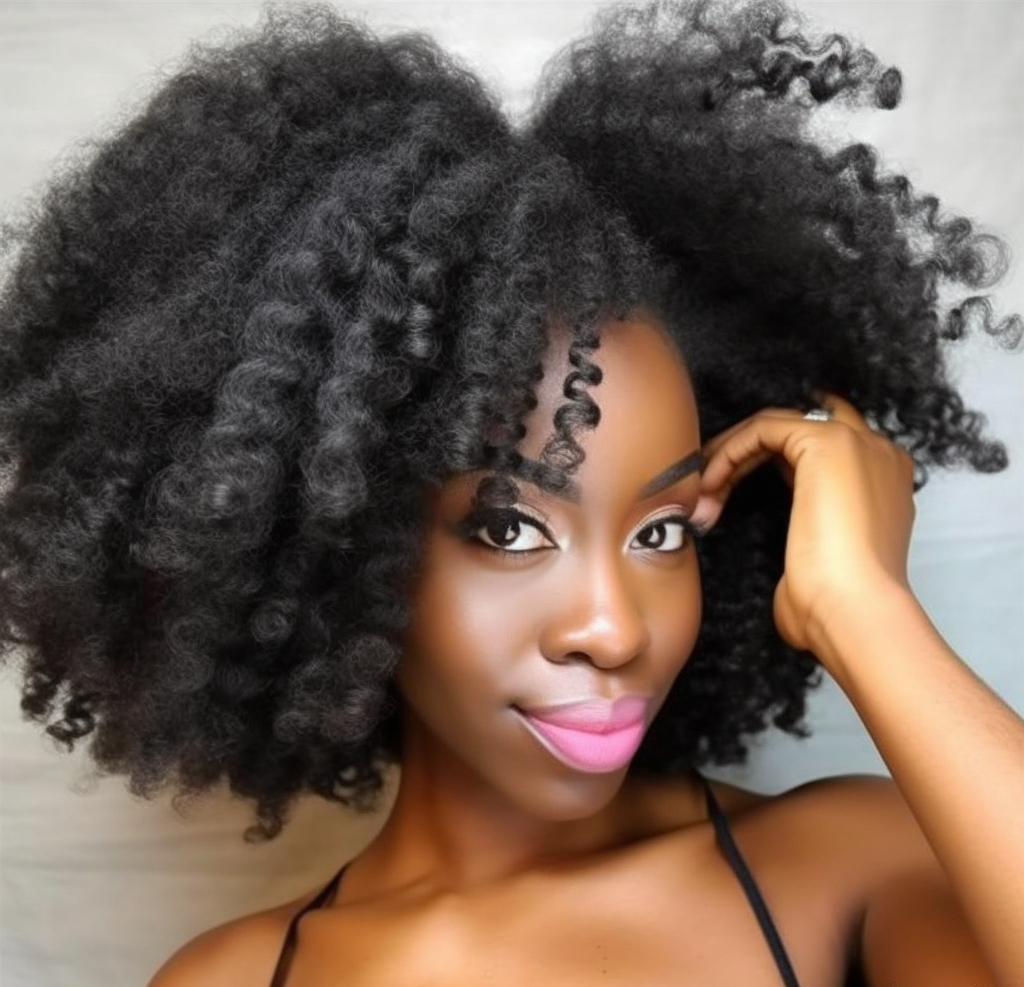
- Divide your hair into sections using sectioning clips or hair clips. The size of the sections will depend on the thickness of your hair and the desired curl size. Smaller sections will result in tighter curls, while larger sections will create looser waves.
- Take a section of hair and comb or brush it to remove any tangles. Hold the curling wand vertically with the barrel facing downwards.
- Starting near the root of the section, wrap the hair around the barrel of the curling wand, away from your face. Be careful not to touch the wand with your bare hands, especially if it does not have a cool tip or you’re not using a heat-resistant glove.
- Hold the hair wrapped around the wand for a few seconds (around 5-10 seconds), then release the curl by gently sliding the wand out of the hair.
- Continue wrapping and curling the remaining sections of hair, working your way around your head. Remember to curl the hair in the same direction for a more uniform look, or alternate the curl direction for a more natural and textured result.
- Once all the sections are curled, allow the curls to cool completely. This helps the curls set and ensures longer-lasting results.
- Optional: After the curls have cooled, you can gently tousle or finger comb them to create a softer, more relaxed look.
- Finish the style with a light mist of hairspray or other styling products to hold the curls in place and add shine.
How to Remove Wand Curls:
To remove wand curls, follow these steps:
- Allow the curls to cool completely if you haven’t already.
- Start from the bottom of your hair and gently unwind each curl from the wand, working your way up to the top.
- Use your fingers or a wide-tooth comb to gently separate and loosen the curls for a more relaxed, tousled look.
- If desired, apply a small amount of hair serum or oil to your fingertips and run them through your hair to add shine and reduce frizz.
Enjoy your beautiful wand curls and have fun experimenting with different styles and curl sizes!