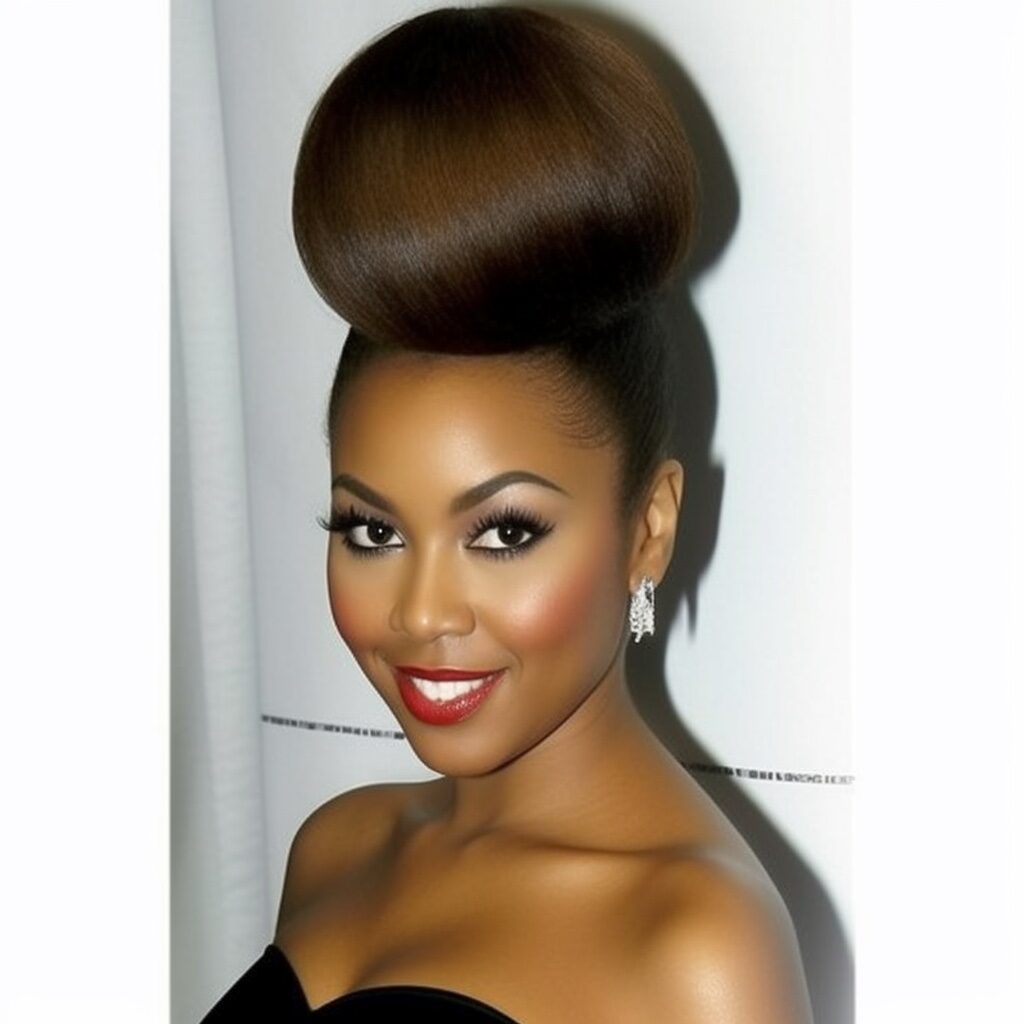
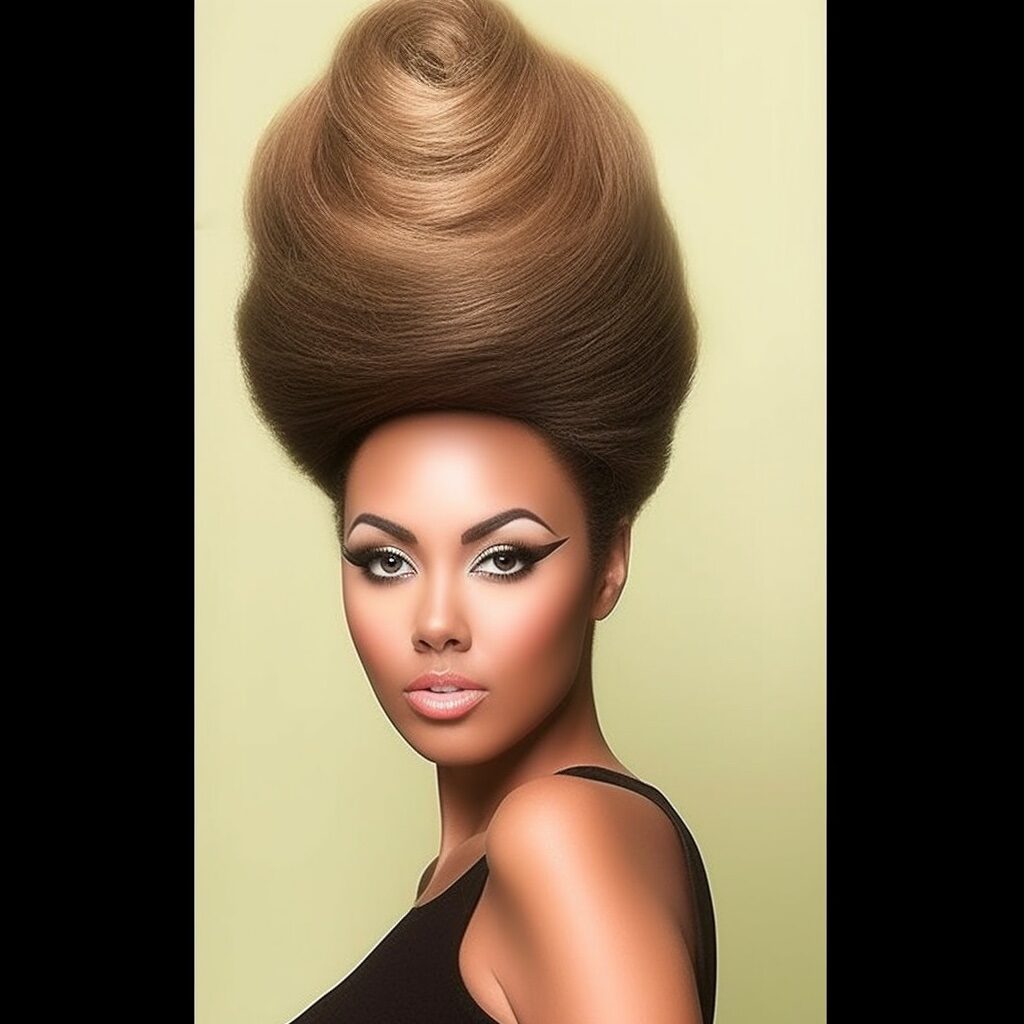
Q: What is a beehive hairstyle? A: The beehive hairstyle is a classic updo characterized by its voluminous, rounded shape resembling a beehive or a mound of honeycombs. It became popular in the 1960s and remains an iconicvintage hairstyle.
Q: Can anyone wear a beehive hairstyle? A: Yes, anyone with medium to long hair can wear a beehive hairstyle. However, it may require some styling techniques and the use of additional tools or accessories to achieve the desired height and shape.
Q: How long does it take to create a beehive hairstyle? A: The time required to create a beehive hairstyle can vary depending on your hair length, thickness, and the level of complexity you want to achieve. It may take anywhere from 30 minutes to over an hour.
Q: How do I maintain a beehive hairstyle? A: To maintain a beehive hairstyle, you can use bobby pins, hairspray, or even a hair net to secure and preserve the shape. Light touch-ups and adjustments may be needed throughout the day to keep it looking flawless.
Start with clean, dry, and detangled hair. You can add some texturizing spray or volumizing mousse for added grip and lift.
Step 2: Tease your hair
Take a section of hair from the crown area and hold it straight up.
Using a fine-tooth comb or teasing comb, gently backcomb the section towards the roots. Repeat this process with smaller sections, gradually building volume.
Gather all the teased hair, including the sections from the sides, into a high ponytail. Secure it with a hair elastic.
Step 4: Shape the beehive
Hold the ponytail straight up and begin to gently backcomb the entire length to create more volume.
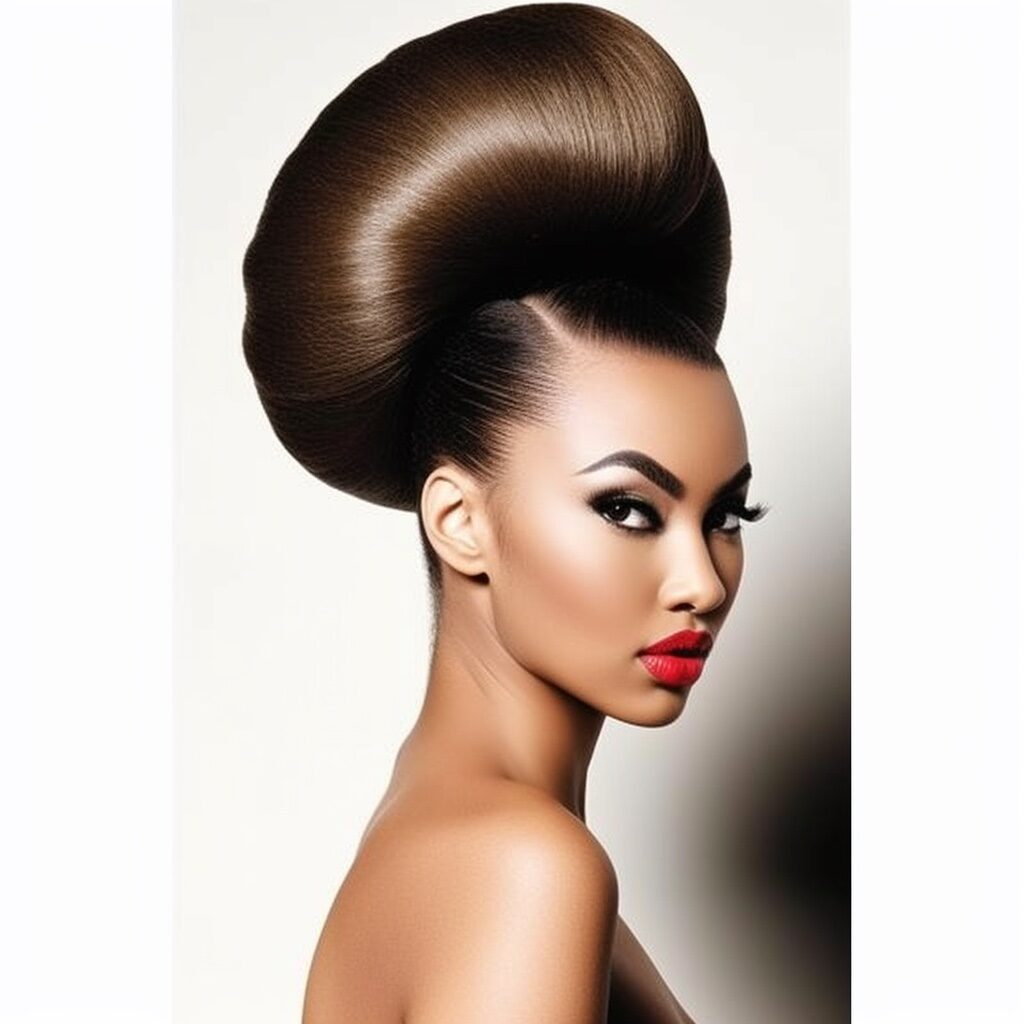
Once the desired height is achieved, carefully smooth the outer layer of hair using a comb, shaping it into a rounded mound or beehive shape.
Step 5: Secure the beehive
Use bobby pins to secure the beehive shape, inserting them vertically into the hair to anchor it to the scalp.
Make sure the pins are hidden and the beehive looks smooth and polished.
Step 6: Finishing touches
Smooth any loose strands or flyaways with hairspray and gently pat them into place.
Optionally, you can accessorize the beehive with decorative hairpins, headbands, or scarves to enhance its vintage charm.
Now you have a stylish beehive hairstyle that exudes retro elegance and sophistication. Whether you’re attending a special event or want to add a touch of vintage flair to your everyday look, the beehive is a versatile and timeless choice.
ShineMyCrown.com is a digital platform which aims to represent the Black and Brown experience across the world. Covering entertainment, news, lifestyle, health fashion, beauty, politics and everything in between, we strive to create a platform that entertains, educates and inspires.
