FAQs:
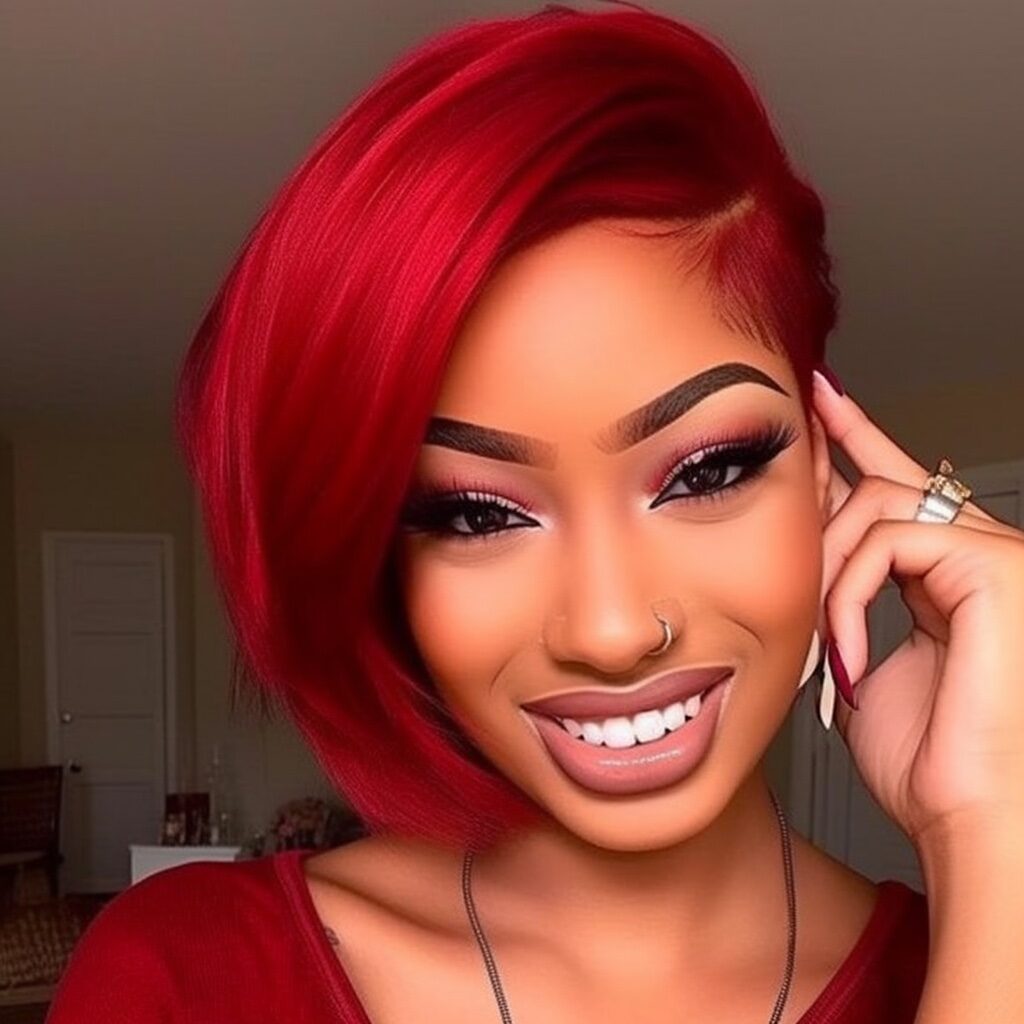
What is an asymmetrical haircut?
An asymmetrical haircut is a trendy and bold hairstyle characterized by uneven lengths or an asymmetrical shape. It adds a touch of edginess and creativity to your overall look.
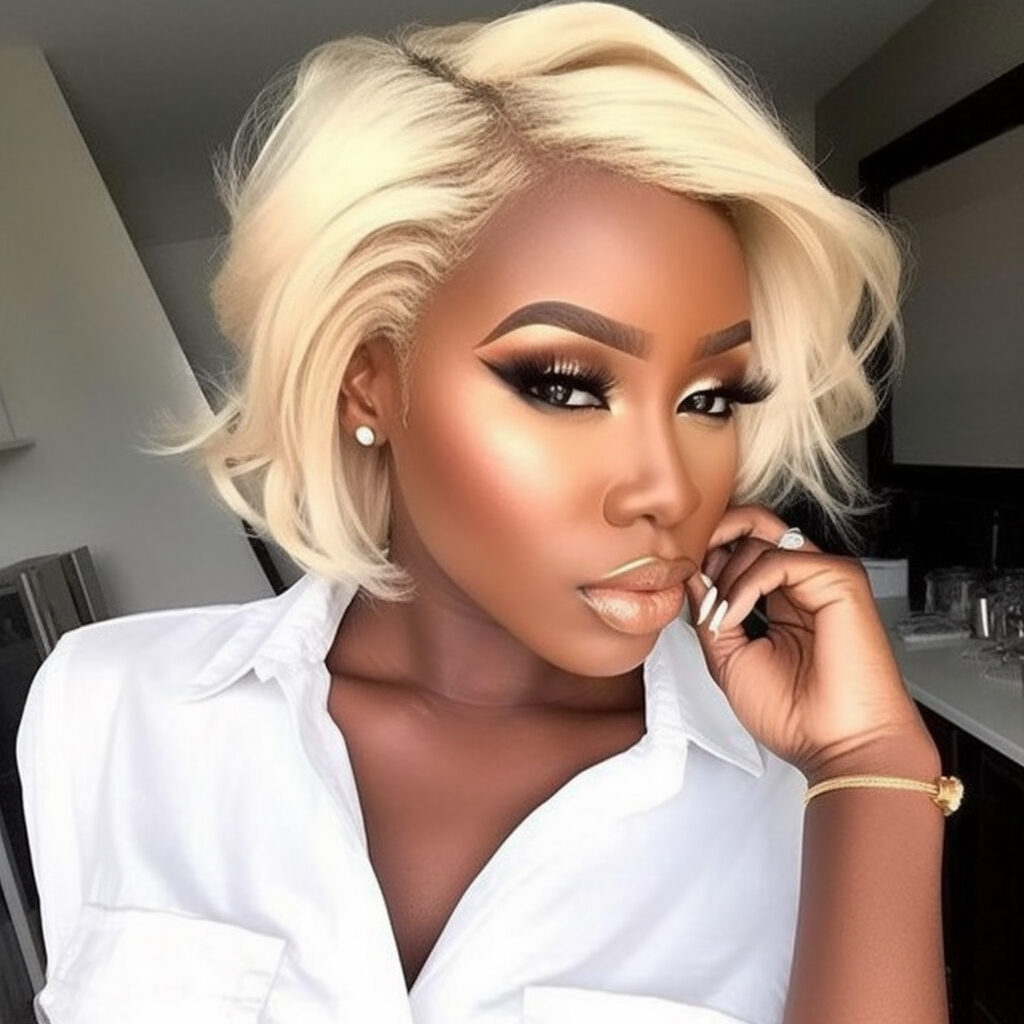
Who can pull off an asymmetrical haircut?
An asymmetrical haircut can be rocked by anyone who is willing to embrace a unique and unconventional style. It suits various hair textures, including straight, wavy, and curly hair, and can be customized to flatter different face shapes.
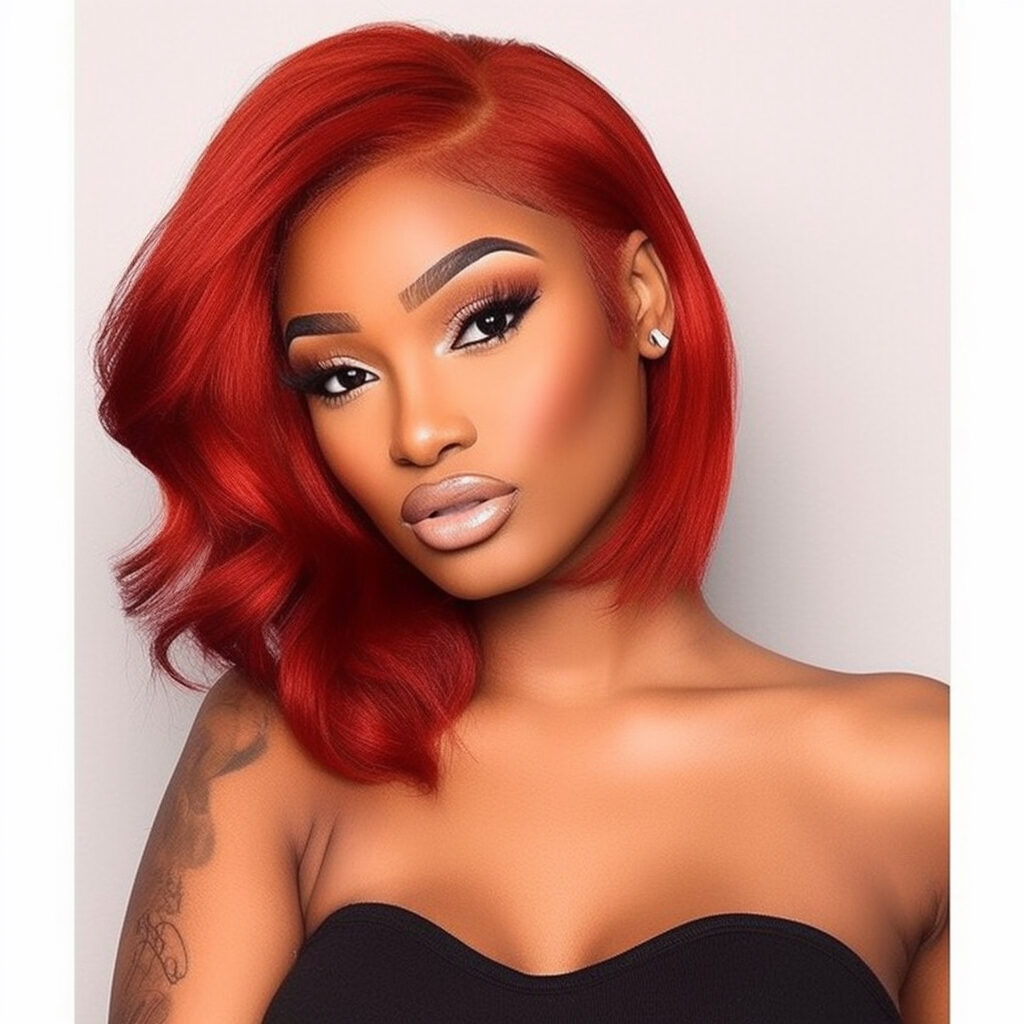
How do I choose the right asymmetrical haircut for me?
Choosing the right asymmetrical haircut depends on your personal style and desired level of asymmetry. You can opt for a subtle asymmetry with slight length variations or go for a dramatic contrast between the lengths on different sides. Consult with a skilled hairstylist to determine the best asymmetrical haircut that complements your features.
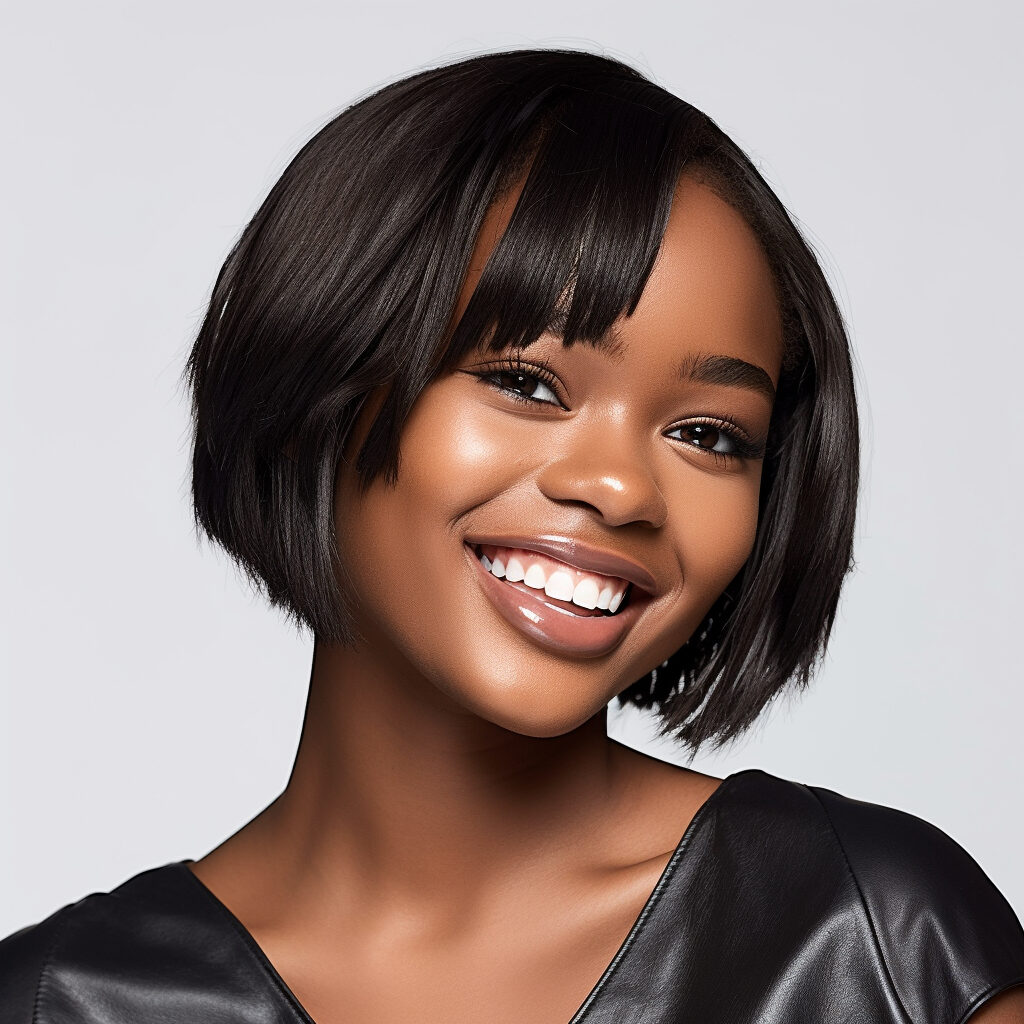
What are some popular variations of asymmetrical haircuts?
There are several popular variations of asymmetrical haircuts to explore. These include the asymmetrical bob, pixie cut, shag haircut, and long asymmetrical layers. Each variation offers its own unique twist on the asymmetrical style, allowing you to find the perfect haircut that suits your preferences.
The asymmetrical haircut gained popularity in the 1980s as a rebellion against traditional and symmetrical hairstyles. It was an expression of individuality and non-conformity, challenging societal norms. Since then, the asymmetrical haircut has continued to evolve and remains a fashionable choice for those seeking a distinctive and contemporary look.
Products Needed:
- Shampoo and conditioner
- Towel or microfiber hair wrap
- Styling products (such as mousse, gel, or texturizing spray)
- Hair cutting tools (scissors or razor)
- Blow dryer
- Flat iron or curling wand (depending on desired style)
- Hairspray or hair finishing product
Tutorial:
Step 1: Wash and Prep
- Start by washing your hair with a suitable shampoo and conditioner to cleanse and moisturize your locks.
- Gently towel dry or wrap your hair in a microfiber hair wrap to remove excess moisture.
Step 2: Apply Styling Products
- Apply your preferred styling products, such as mousse for volume, gel for hold, or texturizing spray for added texture.
- Distribute the products evenly throughout your hair, focusing on the roots and ends.
Step 3: Determine the Asymmetrical Shape
- Decide on the level of asymmetry you want for your haircut. You can discuss this with your hairstylist or choose a reference picture for guidance.
- Section off your hair, separating the longer and shorter sides based on your desired asymmetrical shape.
Step 4: Cut and Style
- Using hair cutting tools like scissors or a razor, start trimming one side of your hair to achieve the desired length and asymmetry.
- Gradually work your way from the back to the front, ensuring the lengths blend seamlessly.
- Repeat the process on the opposite side, maintaining the asymmetrical balance.
Step 5: Blow Dry and Style
- Use a blow dryer with a diffuser attachment or a round brush to style your hair as desired.
- For a sleek look, straighten your hair using a flat iron. For added texture, use a curling wand to create loose waves or curls.
- Apply hairspray or a hair finishing product to set the style and add shine.
Step 6: Finishing Touches
- Take a moment to check the symmetry and balance of your asymmetrical haircut using a mirror.
- Make any necessary adjustments or refinements to ensure the desired shape and length are achieved.
- Finally, embrace your new asymmetrical haircut with confidence and enjoy its unique and trendy appeal!
Remember, it’s always recommended to consult with a professional hairstylist to achieve the best results for your asymmetrical haircut. They can provide personalized advice and expertise based on your hair type, face shape, and style preferences. Enjoy your stylish and daring asymmetrical haircut!